Hi everyone! I haven’t been able to post in a little while because it’s been really busy here at the Welsh house! Between starting classes again (for me), and having a new (naughty) puppy, and tackling three projects last week, I couldn’t find time to do anything else!
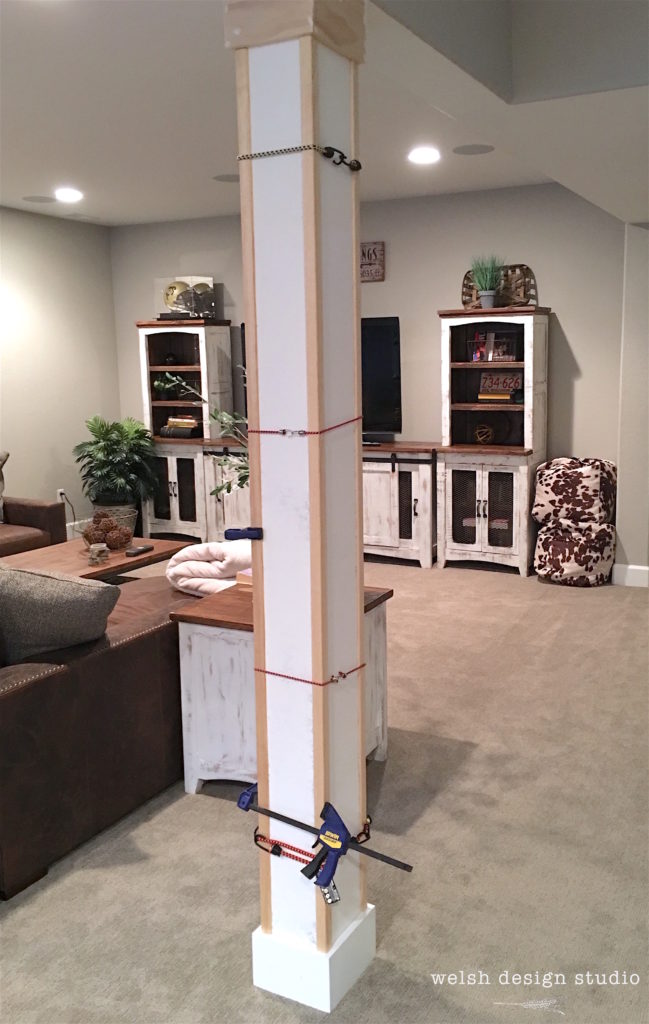
Today’s post is about wrapping our basement column with trim. There really wasn’t a compelling reason to do this, other than we thought it would be a fast and fun project, and make an otherwise boring column look prettier. I mean, if you have to have a column in your basement, why not embrace it! Now, our little column is dressed to impress!
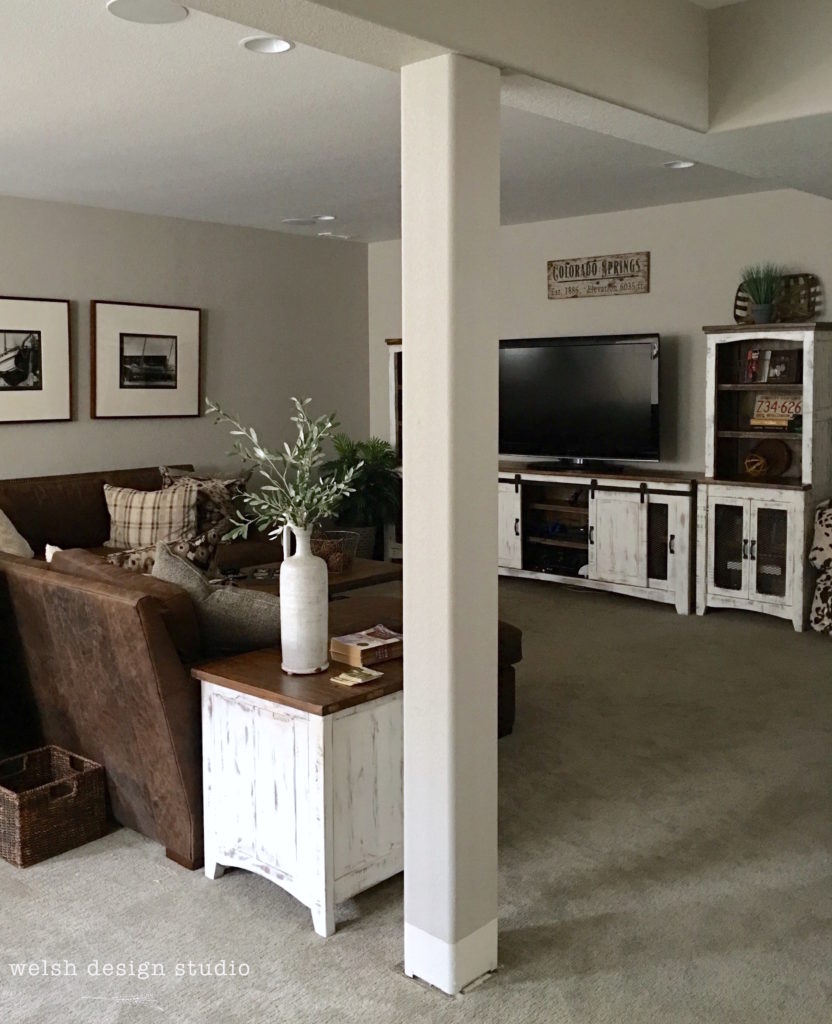
Here are some before and after pics for you to enjoy…
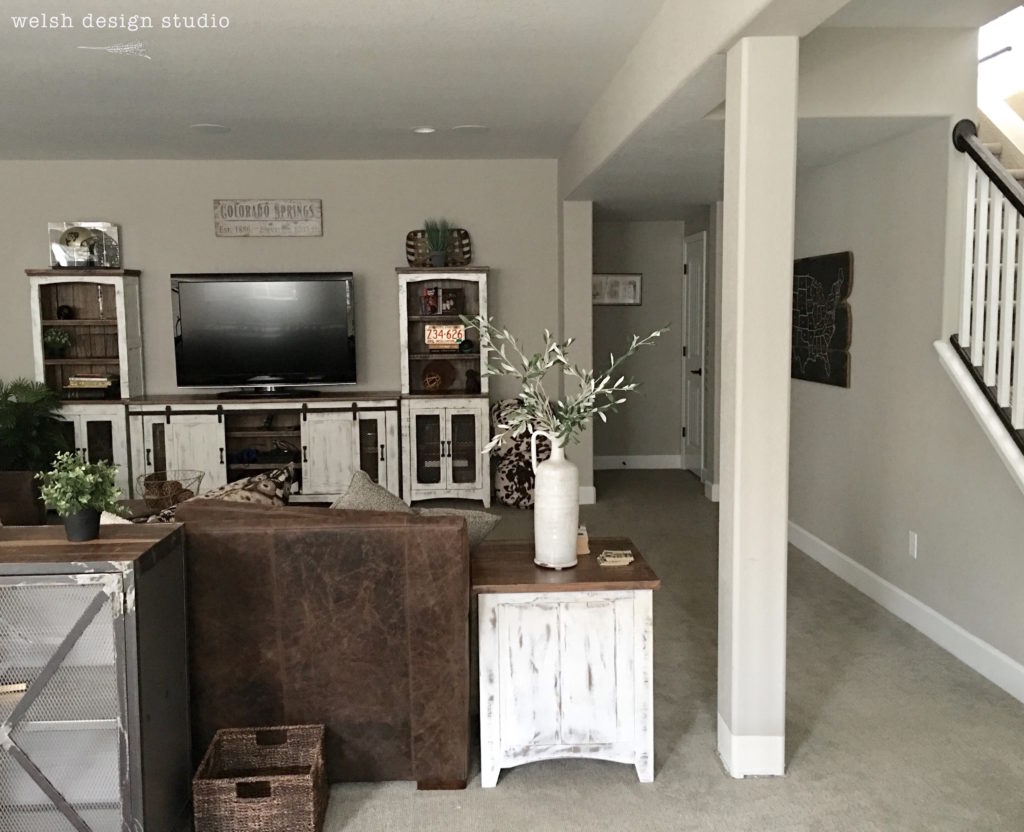
Before
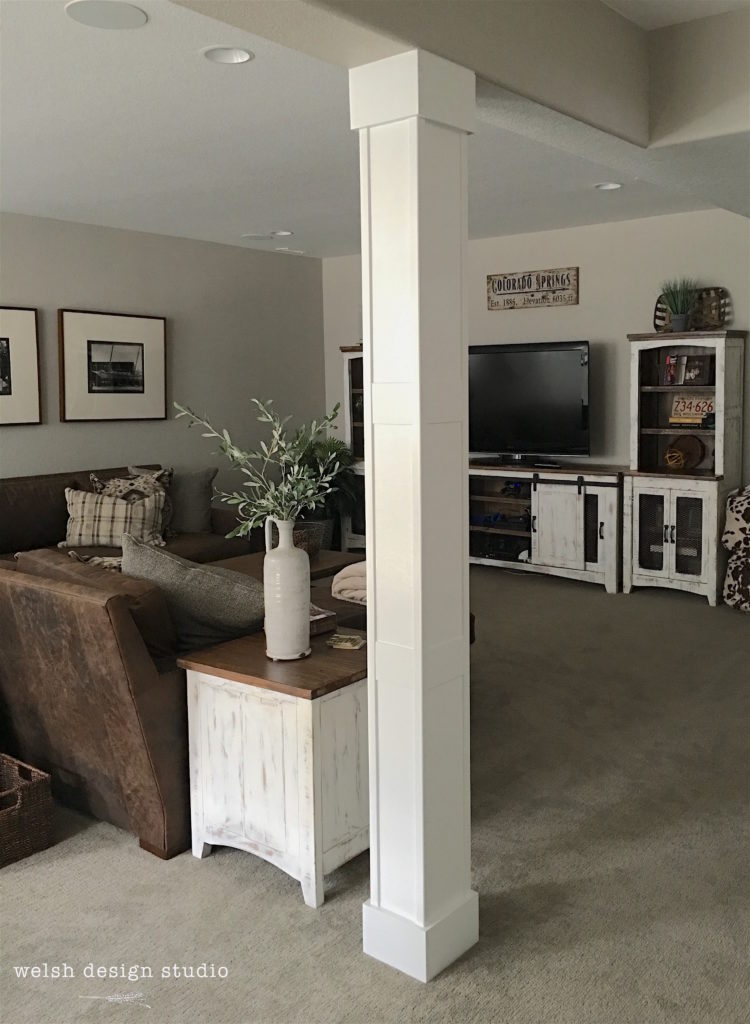
After
Before
After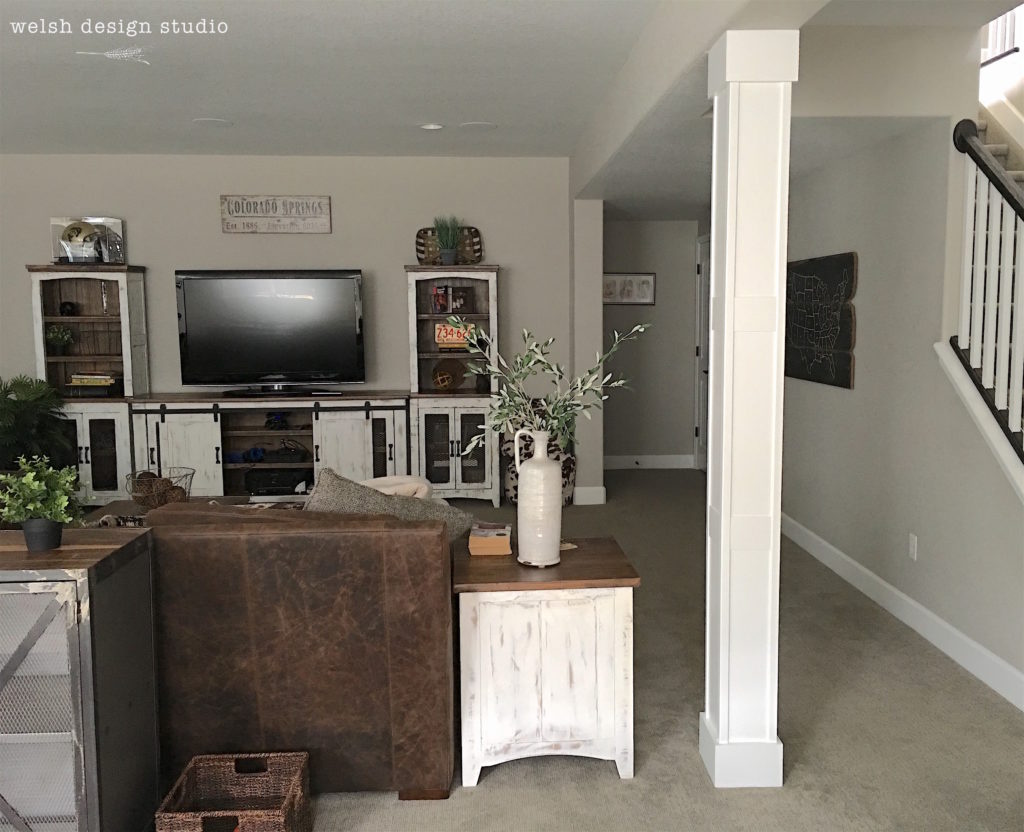
This was a pretty easy and straightforward project to do. The one small challenge for us was that the corners of our column were round, and we wanted to make them square. That’s easy enough to do by using some 90-degree corner trim pieces, but you can’t nail the corner pieces into place because, to make rounded wall corners, you have to use rounded metal corner strips during drywalling. If you try to put a nail in that metal strip, you will fail…trust me…we’ve tried it. No biggie, we just used liquid nails to glue the corner pieces in place. While it dried, we used some bungee cords wrapped around the column to hold the corner strips in place.
Another thing to mention is that our walls have a lot of texture on them – new house and all. We didn’t want quite so much texture on our column, so I skim-coated the column. If you are not familiar with skim-coating, it involves spreading a very thin layer of joint compound mixed with water onto the wall using a drywall taping knife. The joint compound fills in the texture gaps, creating a smooth surface. If you want a perfectly smooth surface, you’ll probably have to apply two or more coats. I just did one for the column because I was OK with a little texture.
After everything was nailed into place, I filled all the nail holes, and caulked all the seams. Our column was ready for primer and paint!
![]()
This was an easy weekend project, and it really enhanced our basement column!

It’s amazing what a difference the wrapped column makes in the space. Just finished it off in a way that continues the farmhouse asthetic downstairs beautifully. Great job!
Thanks! I love it when small projects make a big impact!
The list of things you are going to be doing to my house grows with each blog post! Serious. 🙂
My dear friend, you know I’ll be happy to help transform your home one project at a time…no matter how long it takes! 🙂
I’m in love with this furniture collection. Where did you find it?
It’s a great collection! The entertainment unit and end table next to the sectional are from American Furniture Warehouse. Here’s the link: https://www.afw.com/pueblo-entertainment-wall-unit
What are your wall colors?
The walls are Colonnade Gray (SW 7641)
This is really appreciated that you have presented this data over here wrapping basement column, I love all the information shared. It will be very helpful to understand the 2020 home decor trends. Great post to share!! If you are looking same kind of valuable information, then can also visit Custombasementdevelopment.ca
I’d love to know the paint name/color/brand on your walls.
Also, where did you get the shelves and entertainment stand?
I love everything about your setup!