Hi there! This weekend we created a really easy and inexpensive DIY laundry countertop for over our dryer. It was so simple, and turned out so pretty, that I just had to share it with you.
I have big “someday” plans for our laundry room, but unfortunately, limited funds to make it happen right now. So, we have decided to just make some minor updates to improve the space until we can afford more.
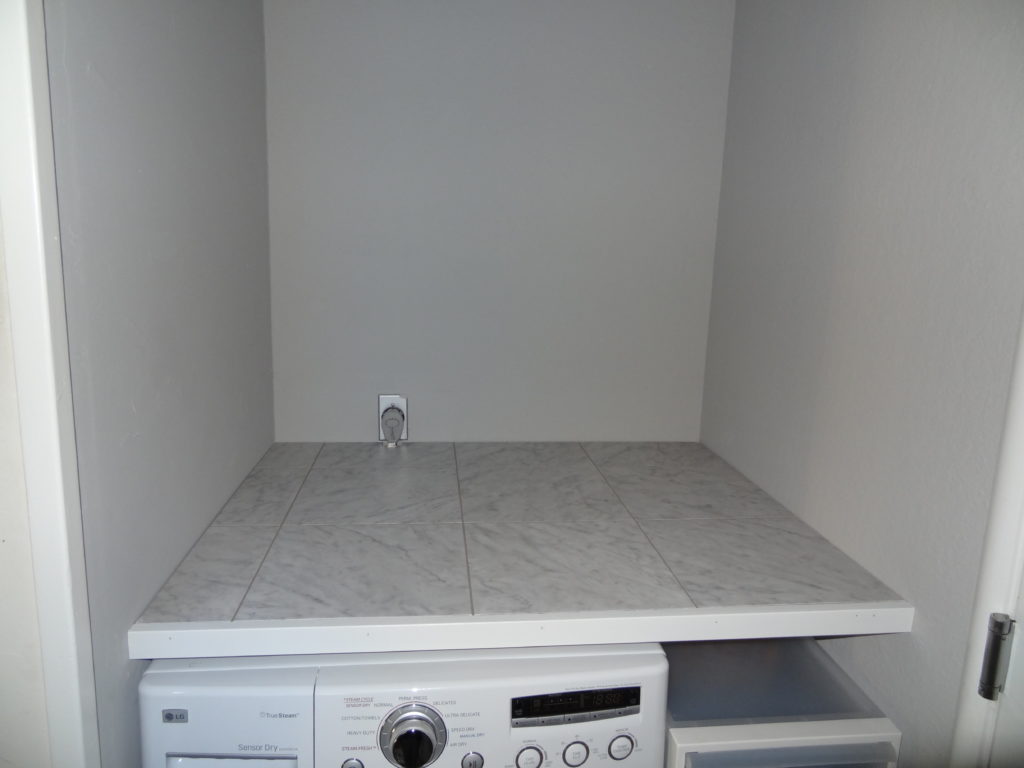
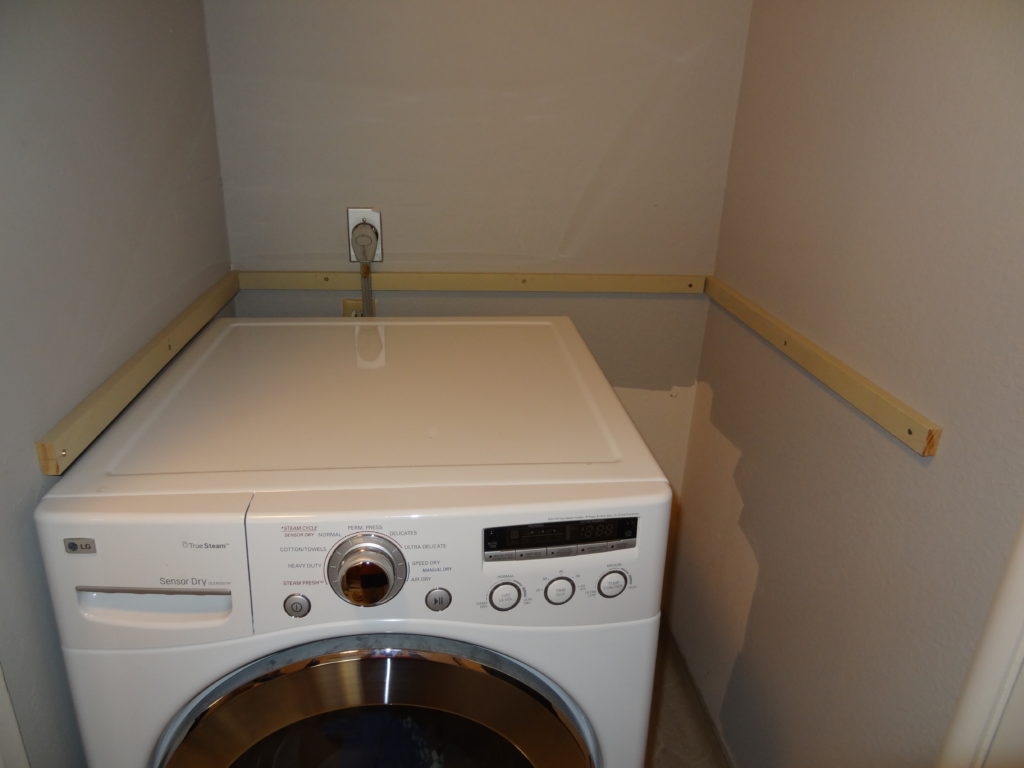
Before
Here is the picture of the space above the dryer before we started. Not very pretty, and not very functional. And, that’s correct, our washing machine is not next to the dryer. In fact, it’s on the other side of the room, which is just bad design, but I digress…

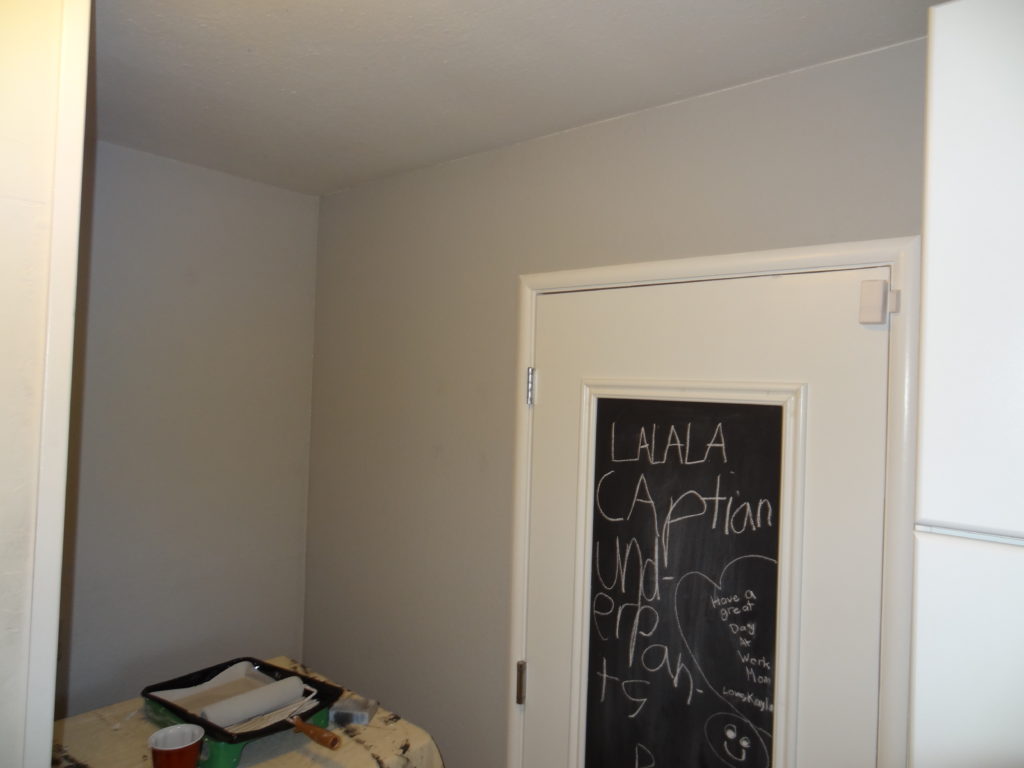
We started by demolishing the floating shelf and cabinet, and giving the walls a fresh coat of gray paint (Smoke Embers by Benjamin Moore)
Making the Countertop
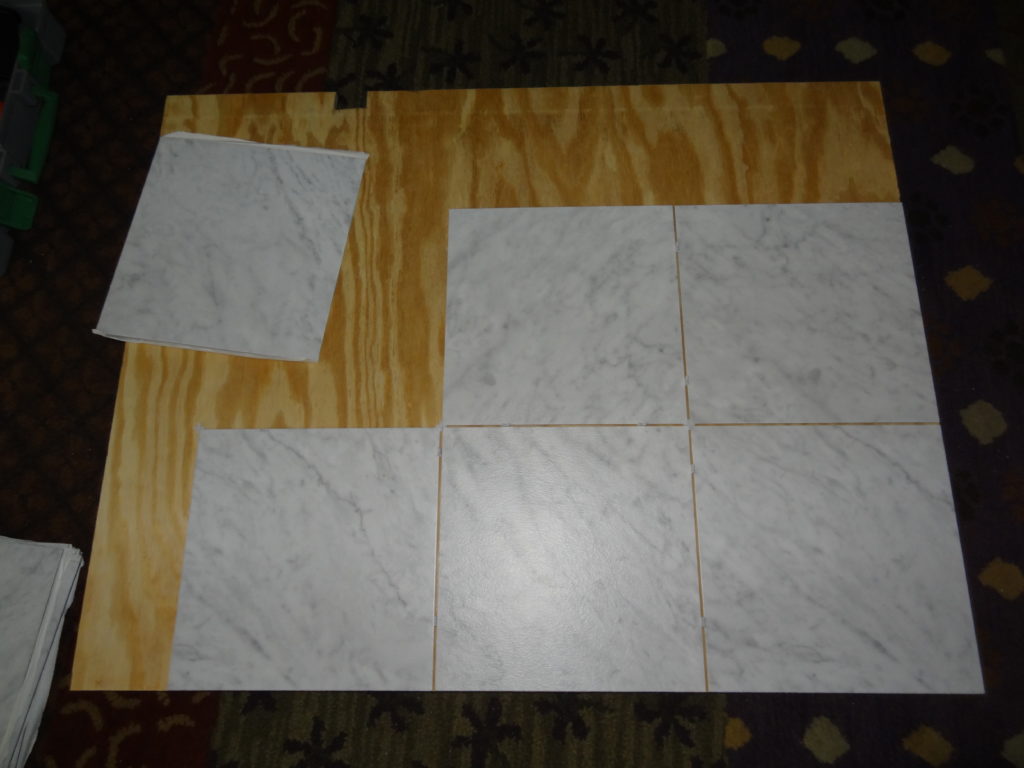
For the laundry countertop, we wanted to make something very inexpensive. We initially considered just a painted plywood top, but, we wanted something with a little more pizazz. So, we went to Lowe’s and found some cheap ($1 each) peel-and-stick vinyl tiles that looked like Carrera marble (kinda).
We cut out a plywood base, and installed the vinyl tiles directly on top of the plywood, using 1/8″ spacers to make sure the tiles were evenly spaced.
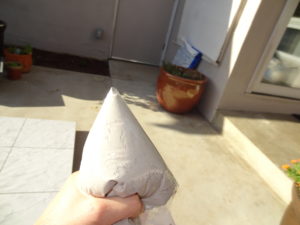
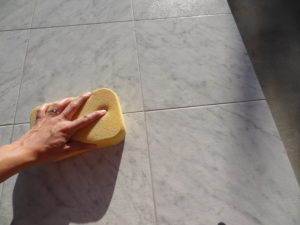
Next, we used some pre-mixed gray grout to give the laundry countertop a more realistic look. I used a plastic bag trick I saw on the internet (think pastry bag) to apply the grout.
Once the grout was properly shoved into all the cracks, we started to sponge off the excess. It took several passes to get rid of all the grout residue. You will also want to be careful not to remove the grout from the cracks, so be sure not to push too hard with the sponge.

Installing the Countertop
To install the countertop, we cut and installed some 1×2 cleats. We made sure the cleats were all level and at the same height so they could evenly carry the weight of the countertop. Because of the span (42″ width), the countertop ended up being a little saggy in the middle, so we put some reinforcement on the underside and that fixed the problem. The front of the countertop was finished off with a small piece of painted 1×2 trim.
Not only was this an easy project to do, but the entire project only cost us about $30, and it looks like real tile! This is going to be a great solution for us – no more socks falling behind the dryer! Next, we plan to install floating shelves with baskets above the dryer to hold all of the things that had been in the old cabinet. Stay tuned for that.

Love the idea of using tile to cover the plywood. I have a topper project in mind for my laundry area, and was dreading the stain/finish part of the top. The tile is a much quicker and less damage-able idea. Thanks for the inspiration!