Hi there! My husband was home today, and we worked on three projects! It feels so good to be making some headway on some lingering items. I made a list the other day and realized I have 12 projects going on simultaneously right now…12!!! To say I get a little ahead of myself is an understatement. My hubby is a “one project at a time” kind of guy, while I like to start several things at once, and finish them when the time is right. The good news is that we balance each other out, and have a ton of fun working together. One of the things we accomplished today was installing the laundry room cabinets – yippee!! It made such a huge difference in the space, and the room already looks 10 times cleaner (an added bonus). We bought our cabinets from Lowe’s. They are Schuler cabinets, Harper (door style) in Maple Onyx stain.
Before
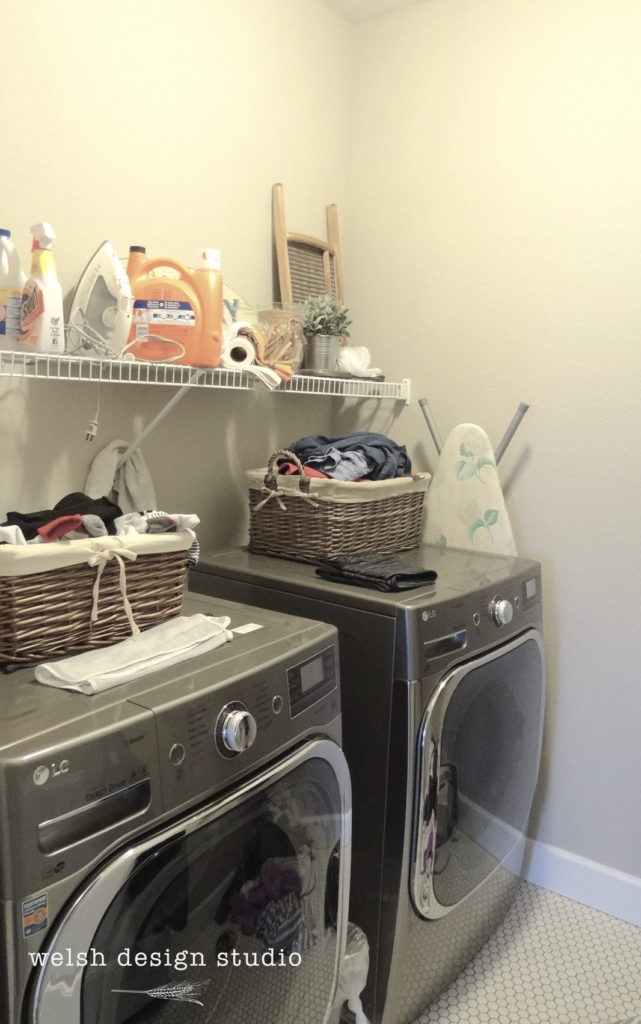
Here is the laundry room before picture:
How to Install Cabinets
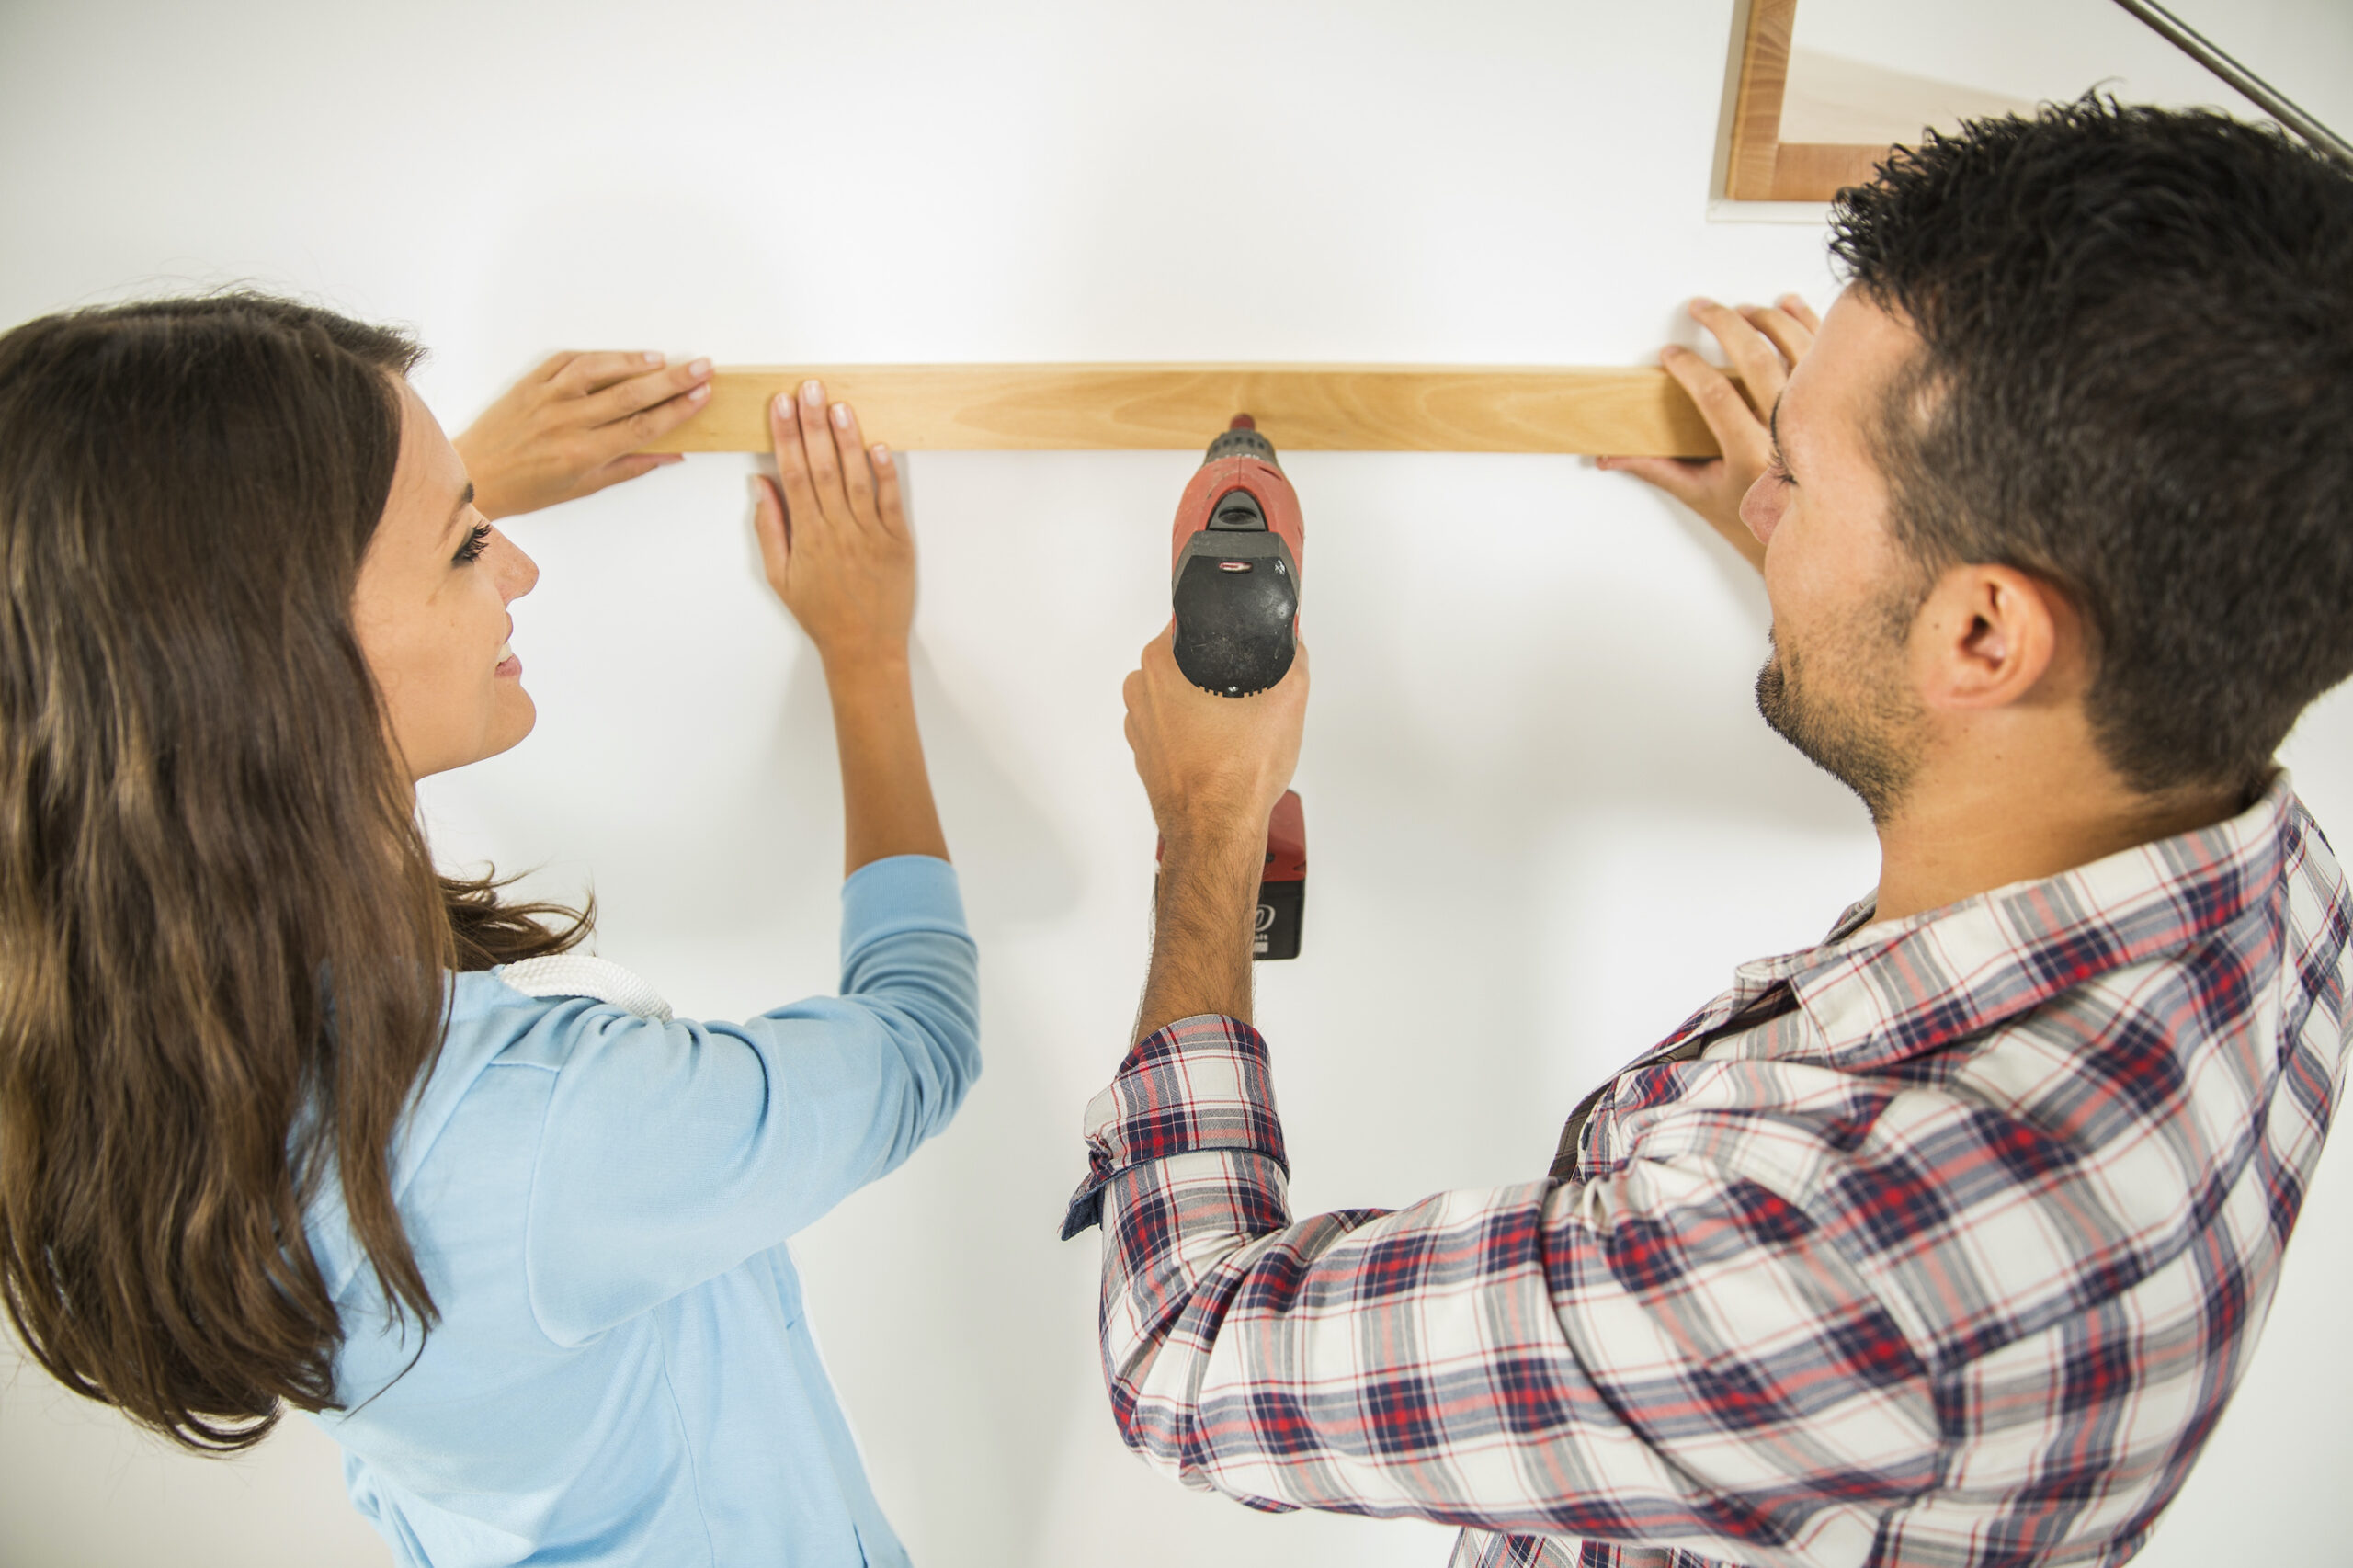
And now let’s talk about wall cabinet installation! The one piece of advice we always like to give about installing upper/wall cabinets is to use a piece of wood, called a ledger board. You just install a piece of 1×2 or 1×4 into the wall at the height you want the bottom of your cabinets to start, and make sure it is nice and level. This ledger piece is used to support the upper cabinets while you install them.
A very tricky part of hanging upper cabinets is supporting them in exactly the right position while you screw them to the wall. It’s super awkward, and leads to marital unrest…trust me. Using a ledger board makes the holding and installing part a breeze, and ensures the cabinets are level. The only downside is that you have to do a little patching and painting to repair the screw holes left from the ledger board after you take it out. Totally worth it! And in our case, we will be tiling over the holes, so no problems there.

We removed the doors and shelves to make the cabinets lighter and easier to manage while we installed them. A few screws (into wall studs) at the top and bottom of the cabinets, and those babies were solidly in place.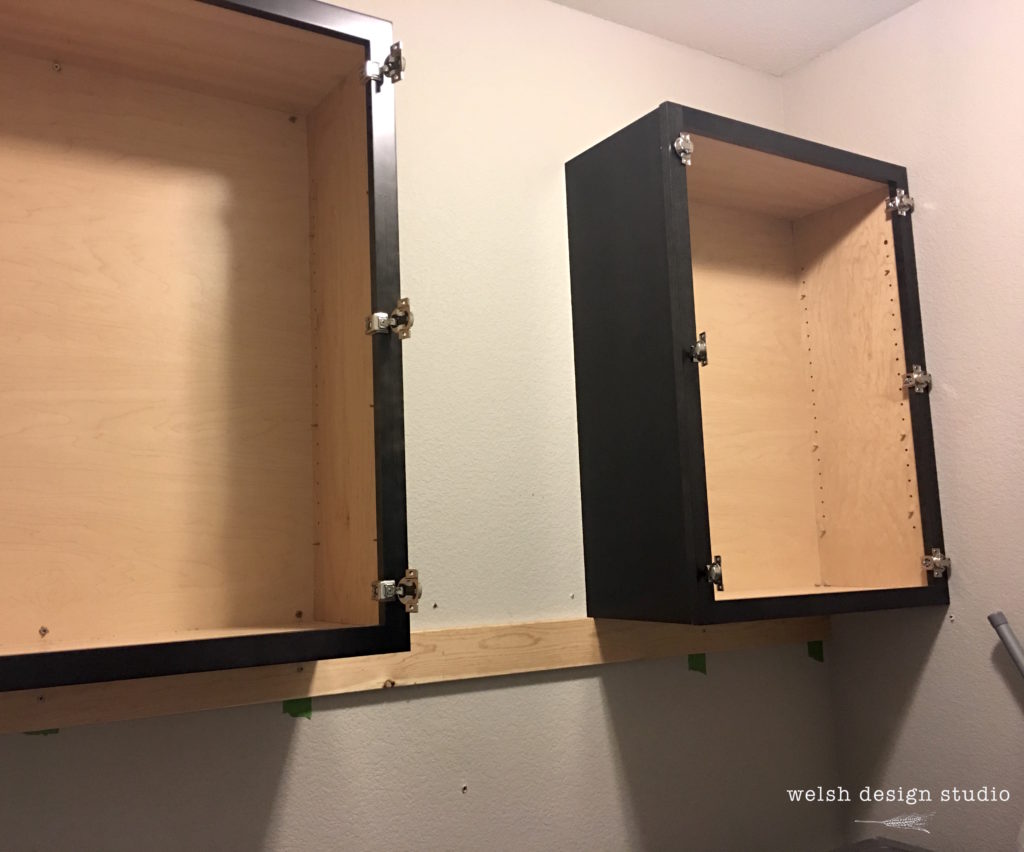
Next, we re-installed the shelves and doors, and removed the ledger board.
After
Ta da!! All my supplies are nicely hidden away behind the doors. We still need to add some cabinet pulls, and the crown moulding, but this was one giant step in the right direction!
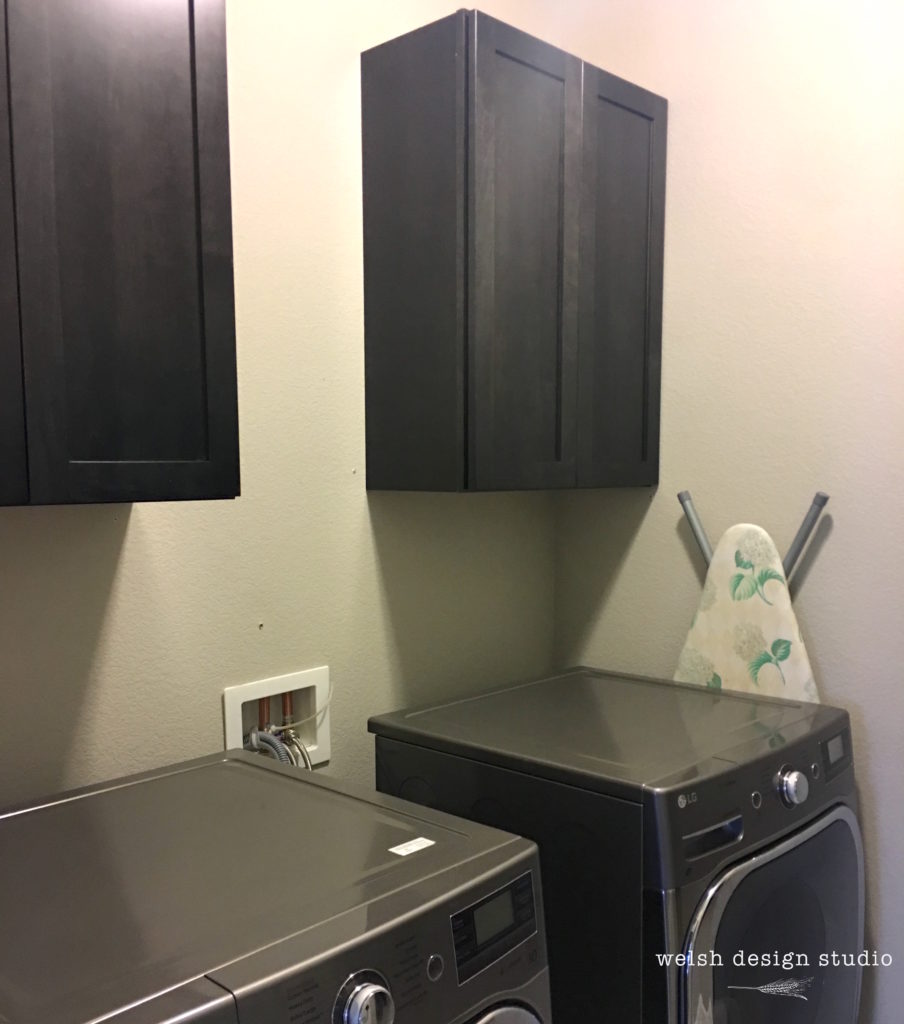
Sorry for the image quality…this room is really hard to photograph because it has zero natural light.
Our Tile Choice
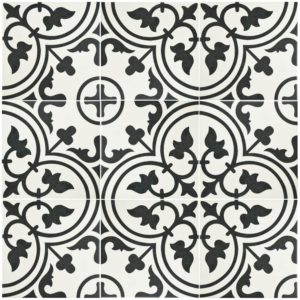
So, before I sign off for the night I’ll tell you a sad story about the “tile that got away.” I found the absolute “perfect” tile for my laundry room. I was so excited about it. I went ahead and started an online order, but once I got to the checkout, things fell apart. Here is the tile I was so enamored with. Isn’t it pretty?
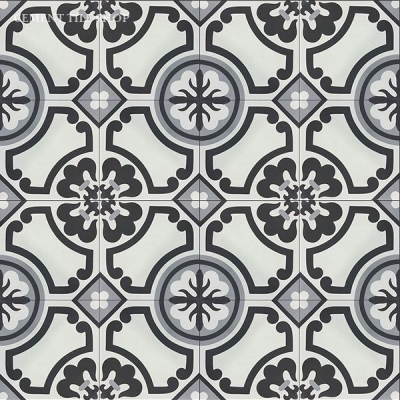

I still wish I could have it, but the problem is that they wanted to charge me $250 for shipping!!! Um, no way!!! So, I moved on, and found a perfectly lovely, and very affordable tile from Home Depot. It’s a black and white patterned tile, and it gets great reviews, and I think it’s gonna look fabulous. May I introduce the Merola Arte White Porcelain Tile…soon to be featured in my laundry room.
See the next post in our laundry room makeover here.
We are well on our way with a similar laundry project. Our upper cabinets are approximately 19 inches apart. We also have a narrow ledge over the taps. I can’t decide whether or not to add floating shelves as well. May I ask where you are getting yours from? I have a wash board sitting in the space now. Looking forward to your opinions as you continue your laundry updates.
*Smiles*
We thought about adding a rod for hanging clothes, but then I realized I wouldn’t be able to reach it very well! So, floating shelves became the best solution. We are making our floating shelves, and I’m planning to share a post on that very soon! They are very easy to make, and the great thing about making them yourself is that you can custom fit them to your space!
Thanks for your input.
*Smiles*
What color are the cabinets?
They are Schuler brand cabinets from Lowes, with their Maple Onyx stain.
What size cabinets did you go with?
I don’t recall the size we purchased, and we’ve since moved from that house, so I can’t measure them either. Sorry! 🙁
Did you stain the cabinets yourself or purchase them already that color?
The cabinets were pre-stained.
did you move the valve box for the washer? I love your pics, but I ‘m concerned if you have the valve box lowered and have to shut the water off you must move the machines…. Did you have your valves lowered?
The valves are just under the countertop. The countertop is just resting on top of cleats, so in the event of a water issue, we would just need to pull the countertop forward a few inches to easily access the valves.
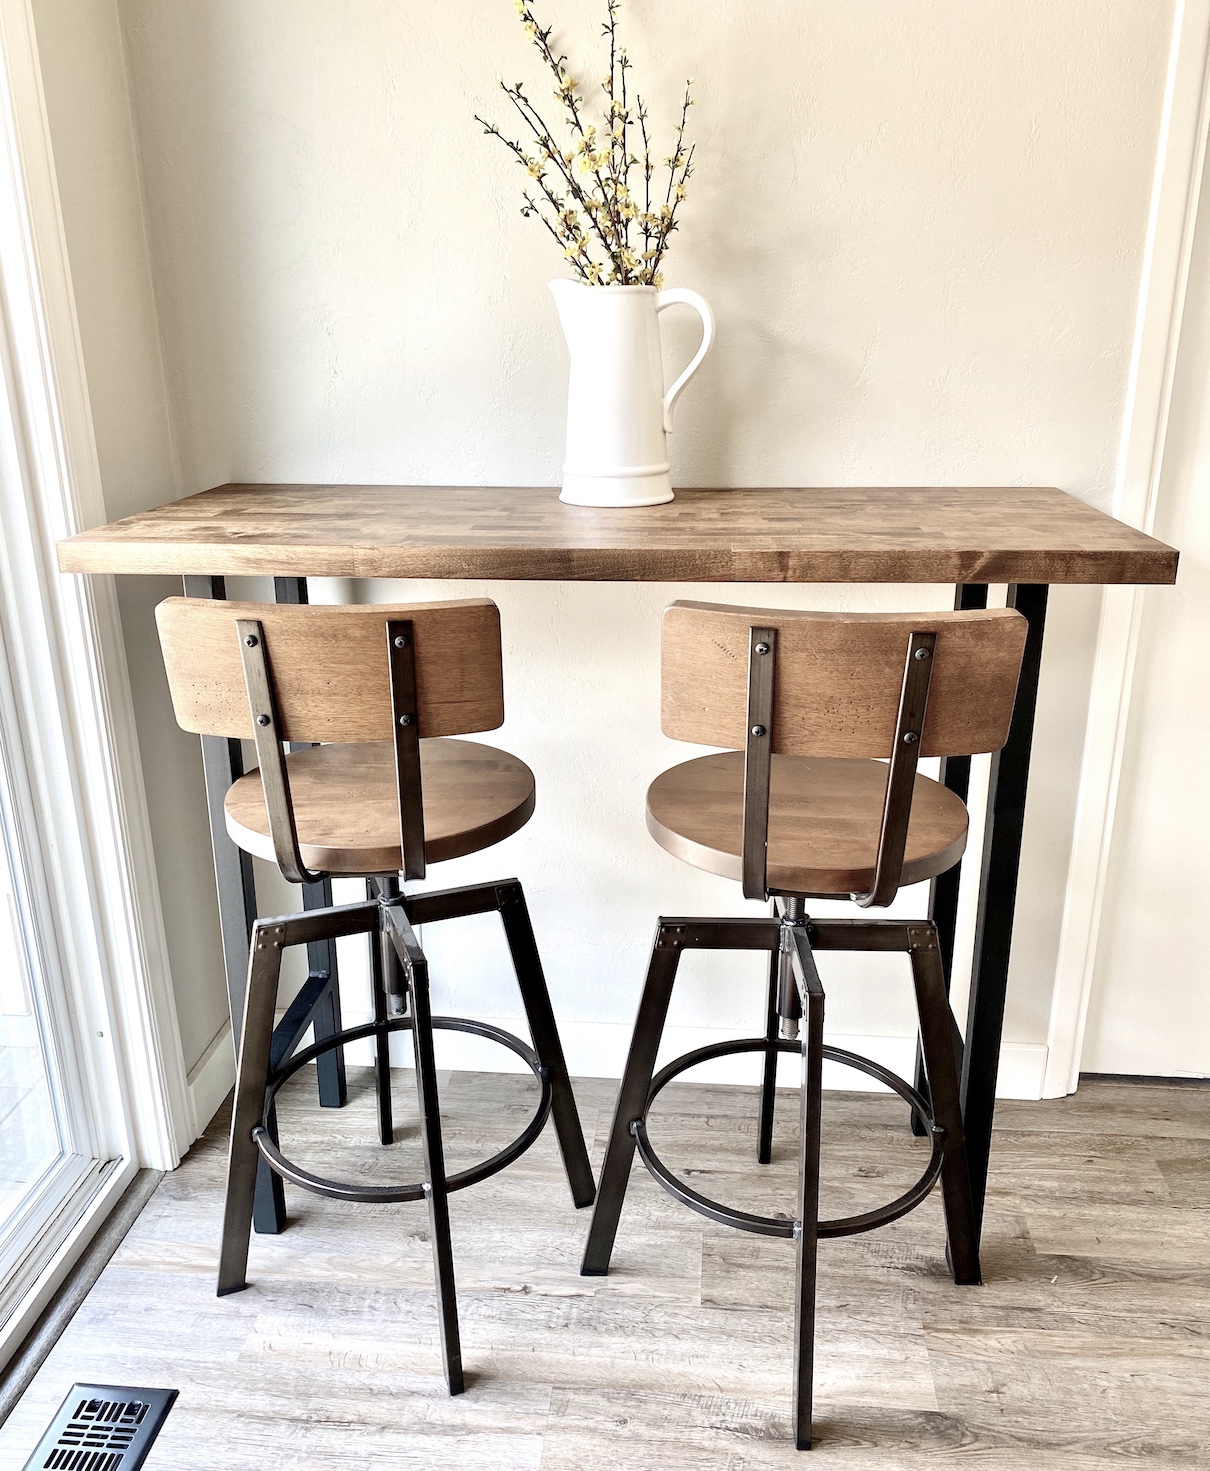
what type of wood is your butcher block? I love the stain you chose. How is your butcher block holding up? It’s really beautiful.
The butcher block is unfinished birch from Home Depot. After staining it, we added a clear coat on top. It has held up beautifully!
I LOVE this laundry room! I’m going to use it as a guide now that I am getting ready to finally start that project thanks for sharing! I need too follow you on IG to keep up with other cool things you’re doing.
Thanks so much!
I’m beginning my laundry room project based on your inspiration!! It is so beautiful. I hope I can find the products you used . Would the peel and stick tile do ok ? I just
Love your laundry room! What is the distance between the bottom of your cabinet and the top of your countertop?