Hi everyone! In this post I’m going to share with you how I made this cute “Home Sweet Home” wood plank sign. I’ve been wanting to create a plank sign for a couple of months, and I’ve actually had the materials in my garage just waiting to be made. I also had a blank wall in our new home that was just calling out for some artwork. The result? A “Home Sweet Home” wood sign, with a little custom flair!

Here’s how you can make a sign like this:
Step 1: Buy Materials & Stain Wood
I used six pre-cut thin planks that you can buy at either Lowe’s or Home Depot. They are 24″ wide and about a 1/4″ thick. I stained them using Minwax’s Weathered Gray.
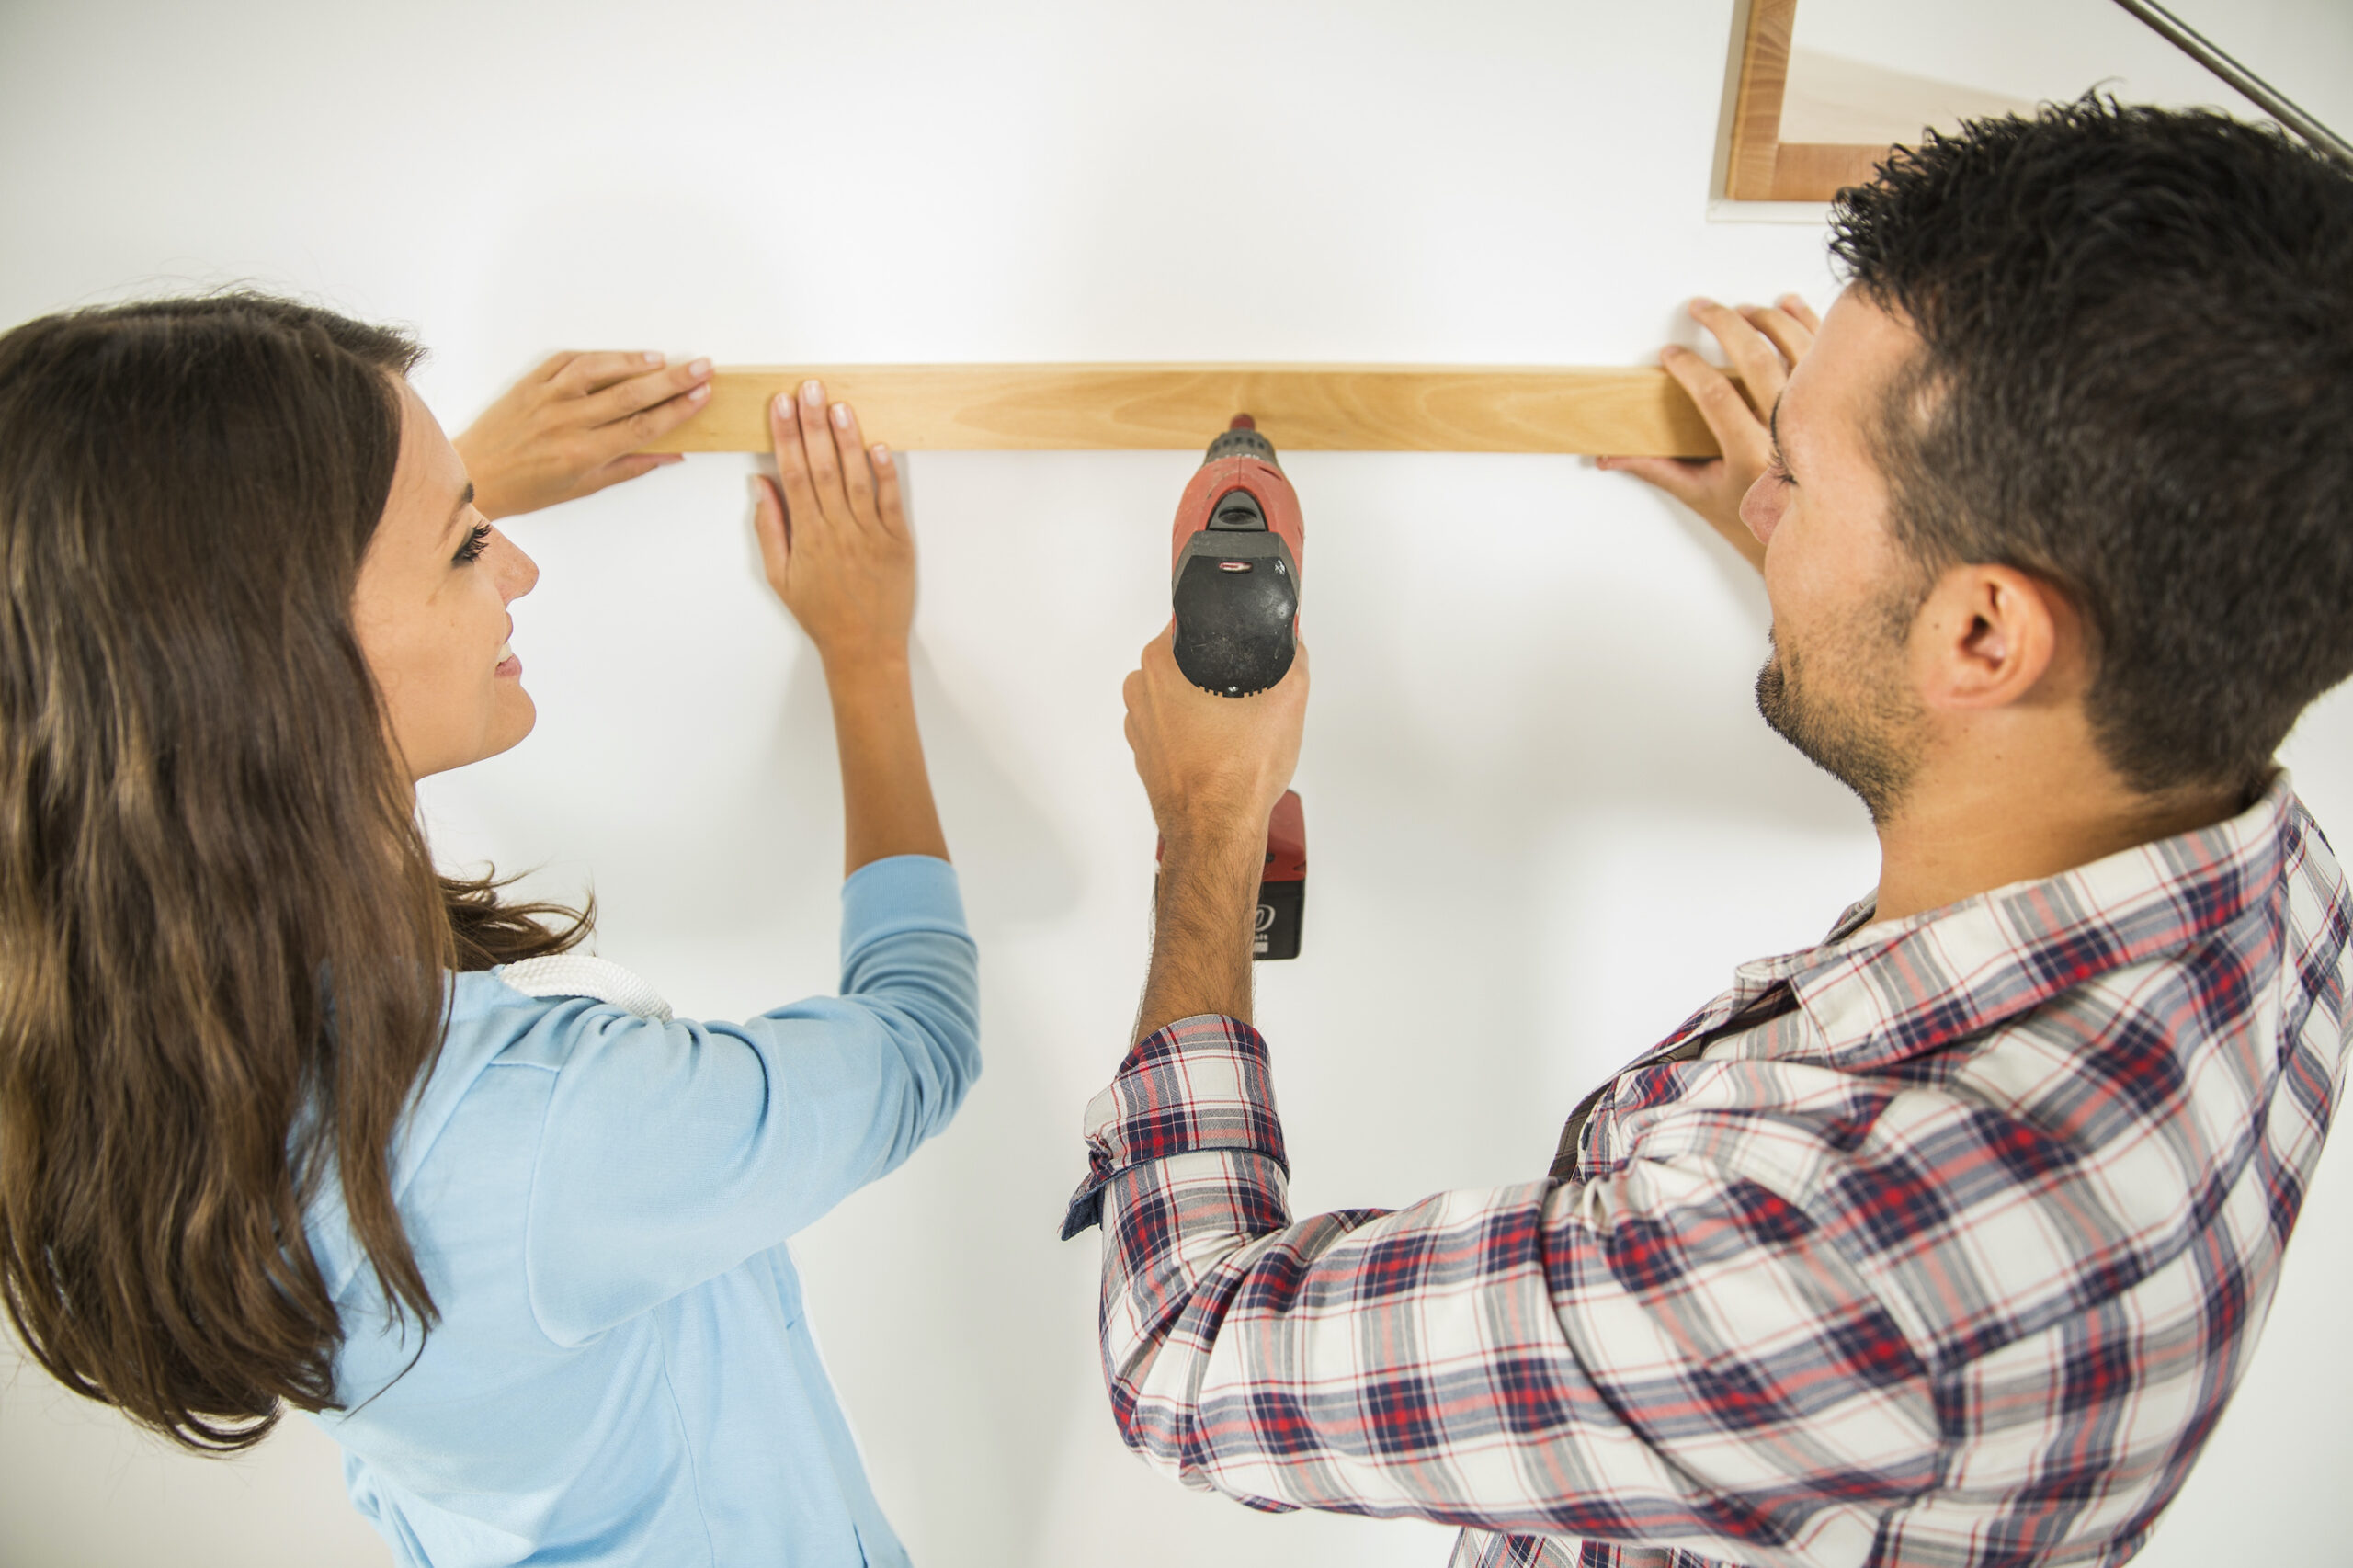
Step 2: Assemble Plank Frame
Nail each plank to two 1×2 pieces of wood using small nails (around 3/4″ long). This will create your frame, where you can then attach little D-ring hangers to the 1×2 strips for hanging your finished art on the wall. Tip: use a nickel to add a little space between the planks.
Step 3: Print Out Words
Next, decide what you want to say on your wood plank sign, and use your computer to pick a font and print out the words. You may need to use one of more pieces of paper (depending on how big you want the words to be). You can tape multiple pieces of paper together, like I did, to create one large word (see picture below).
Step 4: Transfer Words to Wood Planks
Place the paper with the printed words on top of a piece of white transfer paper. I use Saral transfer paper, and I love it. You can get it on Amazon.com (White Saral Transfer (Tracing) Paper) and use the same piece over and over, so it will last you a long time. And, you can use an eraser to easily remove the marks if you end up using a different color paint for the letters.
![]()
Trace over the letters with a ball-point pen, and they will be magically transferred through the Saral paper to the wood. Once you have transferred your words, you will have something that looks like this. A nice, clear template for painting your letters.
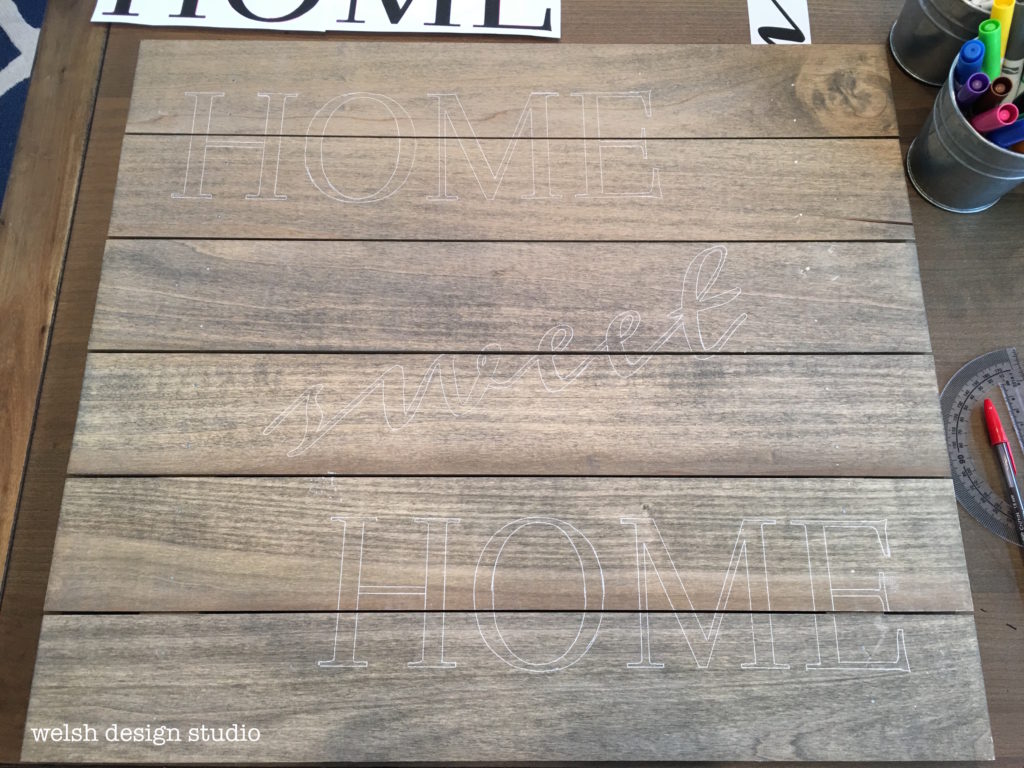
Step 5: Paint
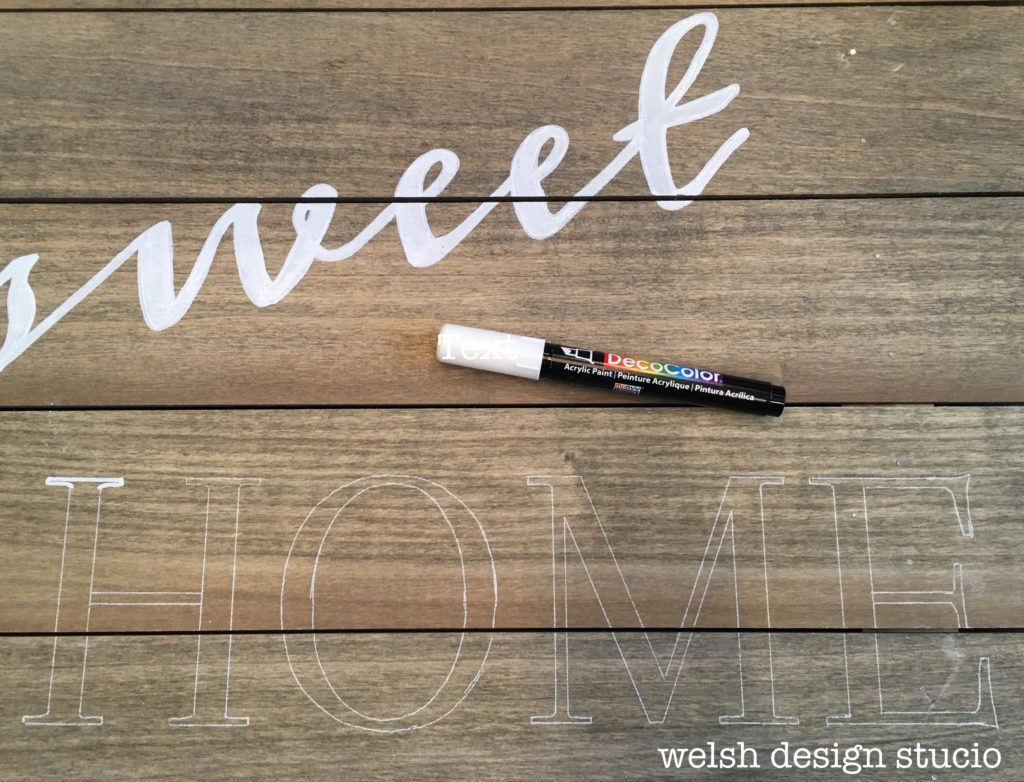
Paint the letters within your template lines. You can use craft paint, a small paint brush, and a steady hand to achieve beautiful results. For this project, however, I chose to use an acrylic paint pen. I like using these paint pens with letters because I feel like I have better control. I bought mine at Michaels, and they come in a variety of colors. Tip: Use an acrylic paint pen for better control when painting letters
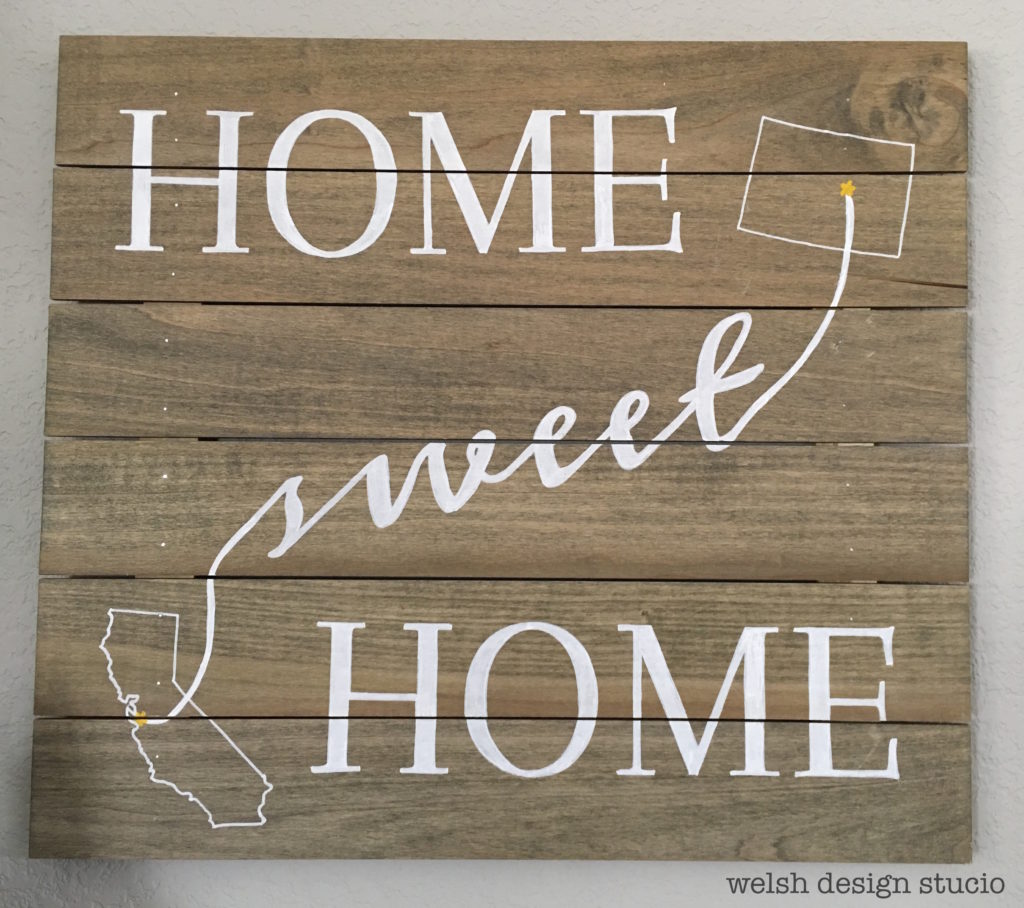
For the two states, I googled some outlines online and just used the same transfer paper process to copy the images to the wood. I traced over the outlines with my trusty paint pen, and then painted on some yellow stars to represent our beginning and ending points.
Step 6: Hang and Enjoy!
You can either use D-rings attached to the back of your frame, or some Command Adhesive picture hanging strips to hang your new wood plank sign on the wall. Stand back and enjoy your new artwork!
I just love personalized artwork, and my family loves the final result, too. This wood plank sign was very easy to make, and it is the perfect artwork addition to our new home.
![]()
See other great DIY projects and recipes at:


love it, thanks for sharing and great to “meet” you on craft schooling sunday! From the looks of your sign, you live in the Bay Area? I’m born and raised in Berkeley, CA though now call Northern Israel home. Looking forward to see you again!
Nice to meet you, too! We moved from the Bay Area to Colorado, and it’s been a good change for us. I love your site, and really enjoyed all of the great inspiration from your Craft Schooling Sunday.
I love this! I haven’t tried Saral transfer paper, but after seeing your results, I definitely want to try it. Thanks for sharing at Snickerdoodle. Pinning.
Thanks! The Saral transfer paper is the best discovery I’ve made in a long time. It is so easy to use, and can be reused over and over. You can get it in dark colors, too, for working on white surfaces. Thanks for commenting!
Popping back by to let you know we’ll be featuring this at tomorrow’s Snickerdoodle Party at Across the Blvd. Hope to see you at the party!
That’s awesome! Thank you so much! You guys host a great party…I’ll definitely be back.
Great wood sign guide! Explore unique signage options at https://kbmediacorp.ca/signage-wraps/.