In today’s post we’re talking about building and using DIY vintage crates for decorating! I’ve been watching Fixer Upper on HGTV, which is the absolute best show to come along on that network in a long time, and I saw an idea that I loved. One thing Joanna (I’ve decided we are on a first name basis) has done a couple of times is use vintage wood crates stacked on top of each other to serve as an indoor planter box. Here’s some pictures to give you an idea what I’m talking about.
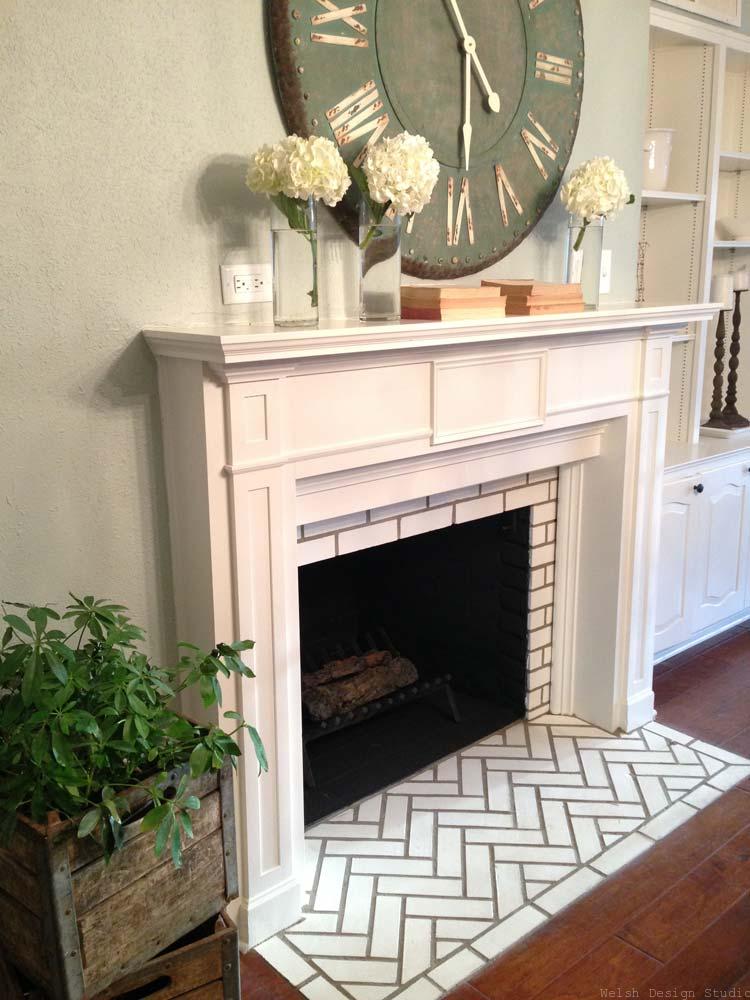
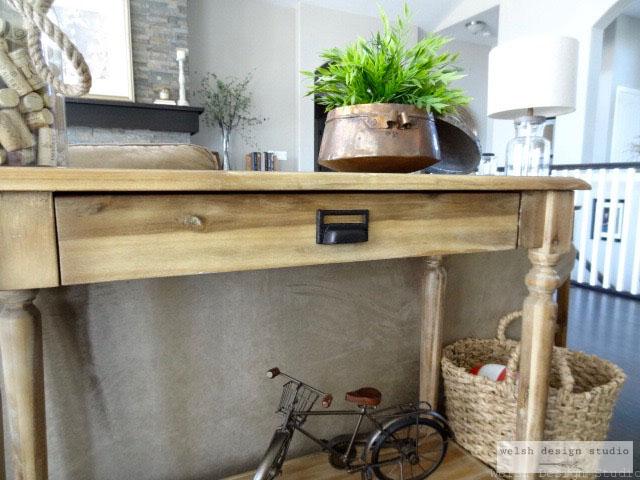
Now, don’t be distracted by the fireplace and beautiful decor…look at the wood crates in the lower left of the picture.
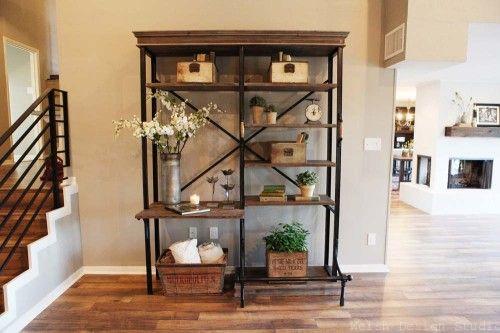
Here’s another cute vintage crate with a plant in it on the bottom shelf of the bookcase in this next picture.
Now, you can get wonderful vintage crates online, but it seems that the ones I like best seem to cost the most. Funny how that happens to me so often… So, being the DIY-aholic that I am, I started looking online for way to make crates. I found just what I was looking for on the House of Smiths site. They have a wonderful tutorial for how to make old-looking wood crates that you could use for almost anything. They just happened to be perfect for what I was looking to do. Check out the House of Smiths tutorial here.
How to Make Wood Crates
I went to Lowe’s for my supplies, just like the House of Smiths tutorial told me to. At Lowe’s they have all of these wonderful pre-cut planks that are about 2 inches wide, and various lengths. We chose the 24″ planks, and needed 12 to build each crate
I also picked up a can of stain, MinWax Old American, and some 2×2 boards for the corner pieces.
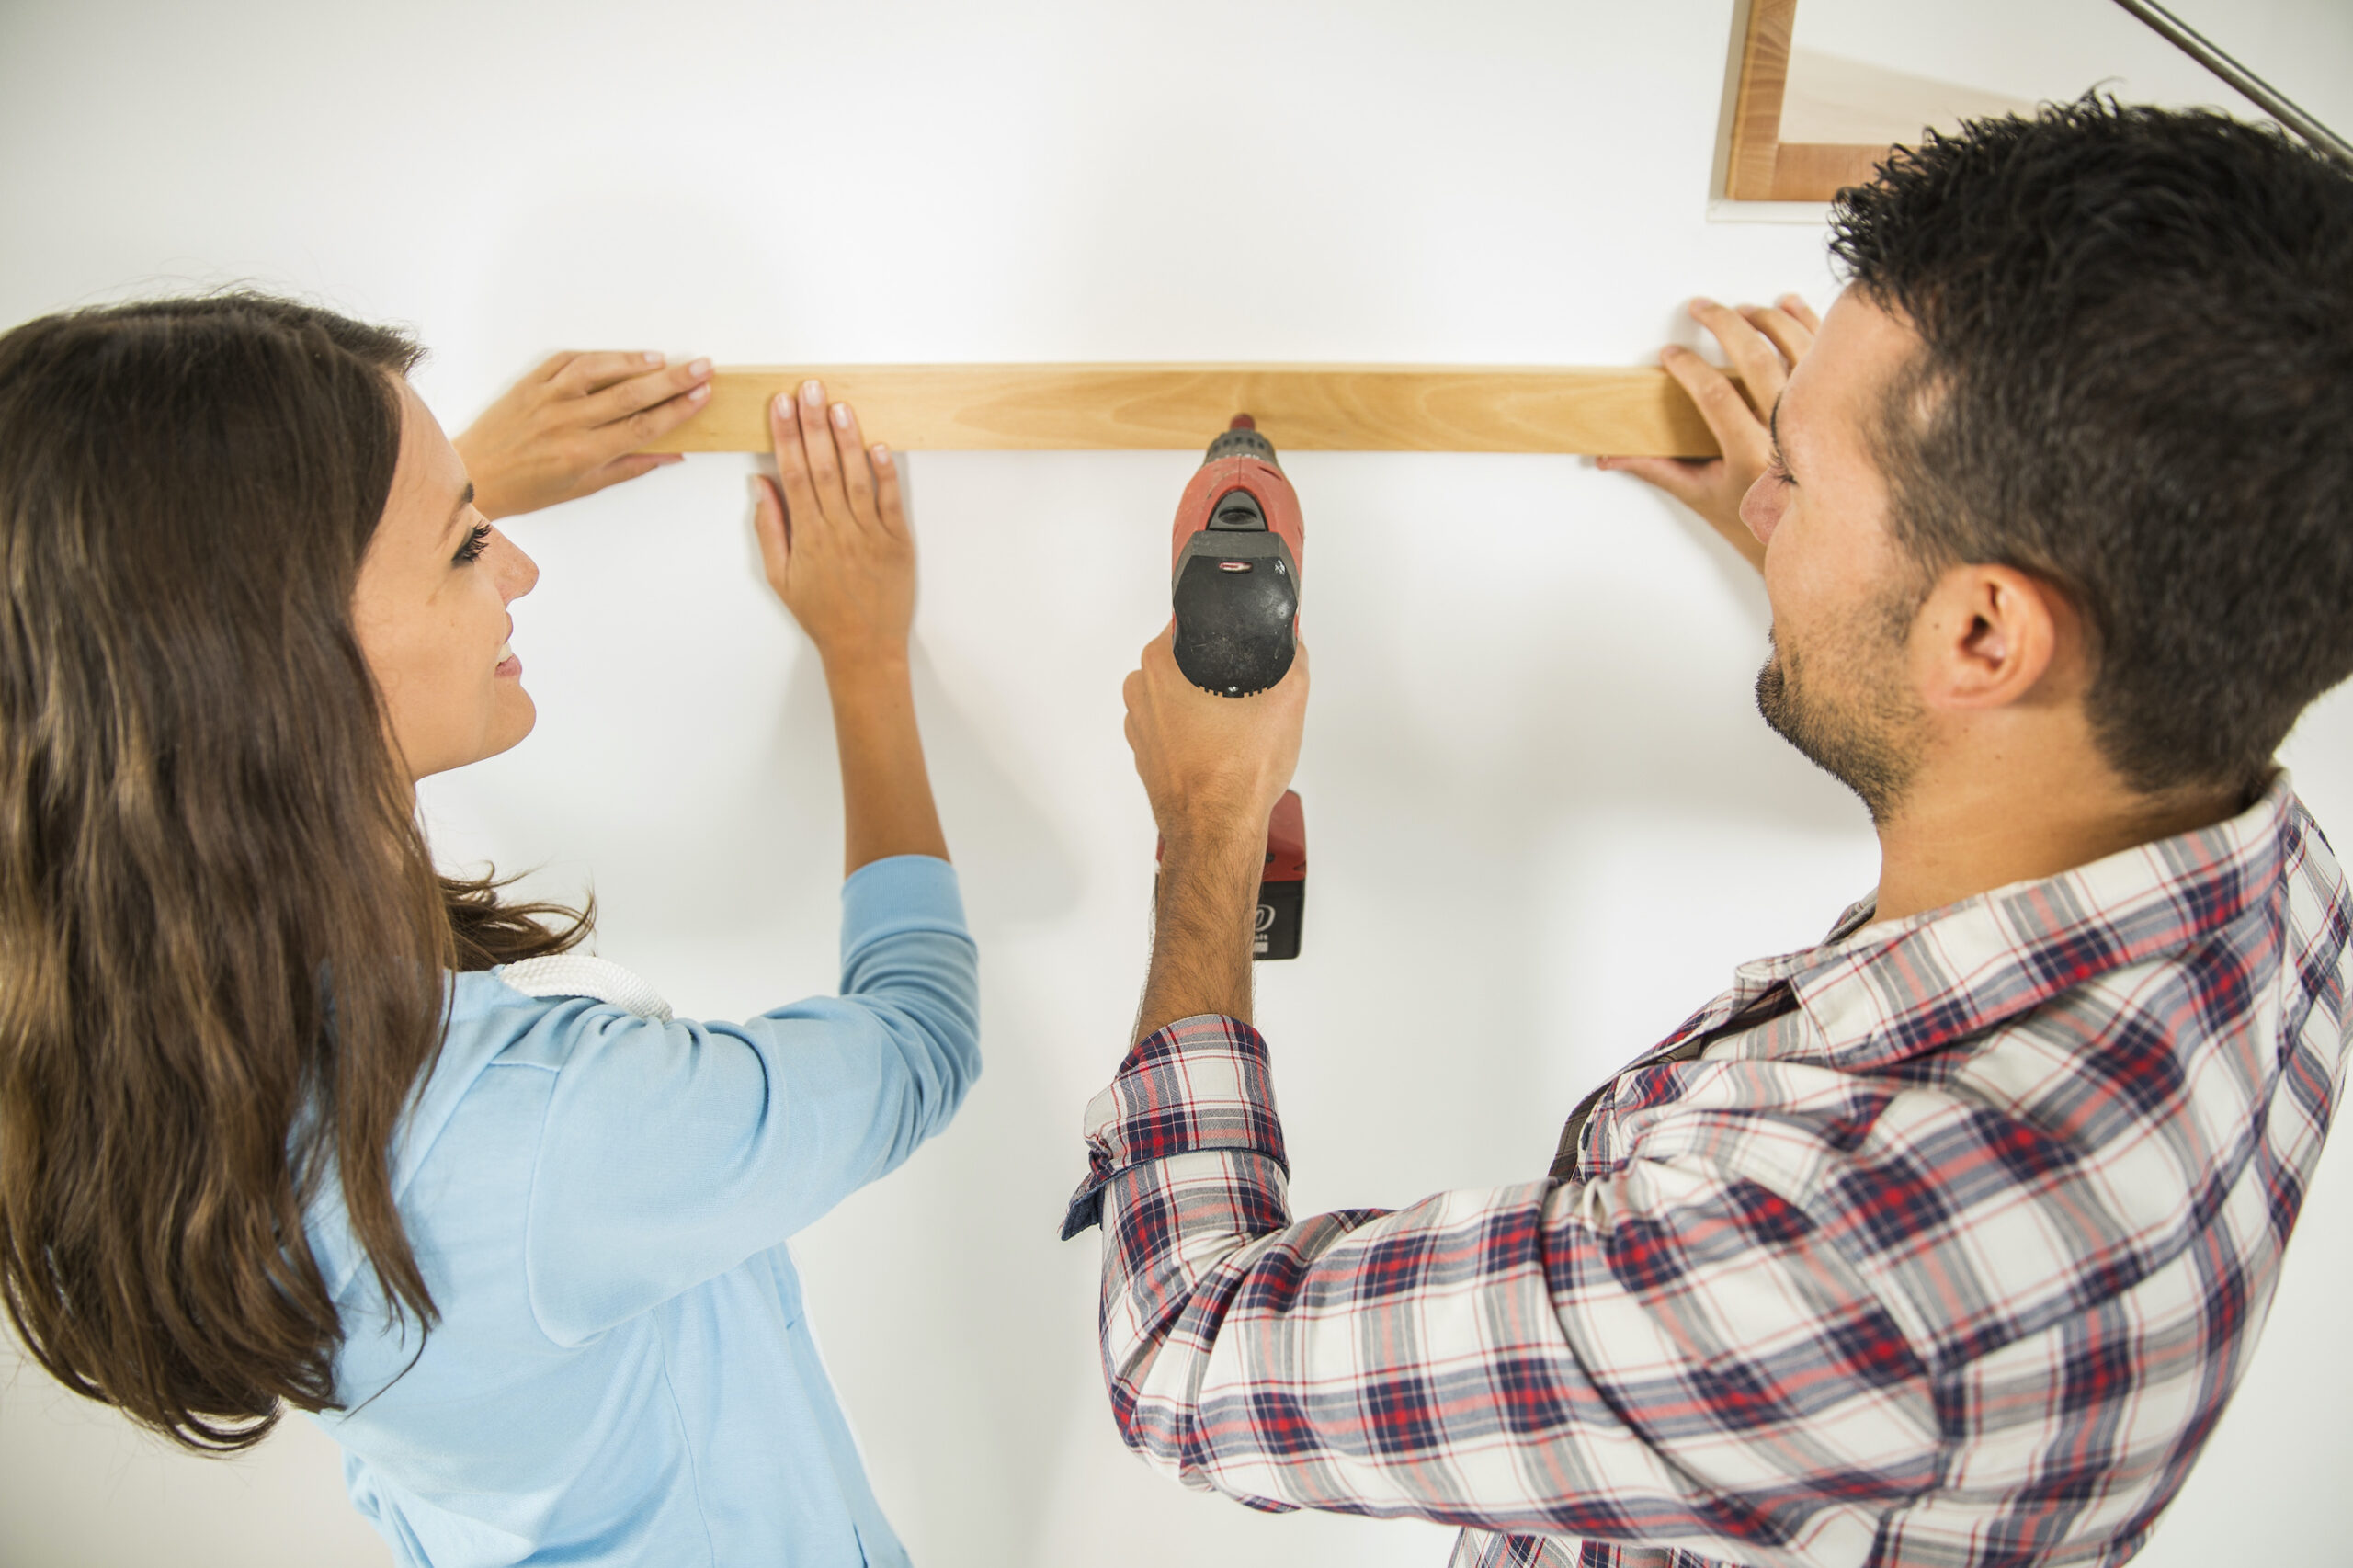
We made our boxes 1 ft x 2 ft because that minimized the number of cuts we would have to make, and we love making things easier for ourselves. We assembled the boxes using the guidelines from House of Smiths (see images below), and our trusty nail gun (best tool we ever purchased!). The assembly went so quickly
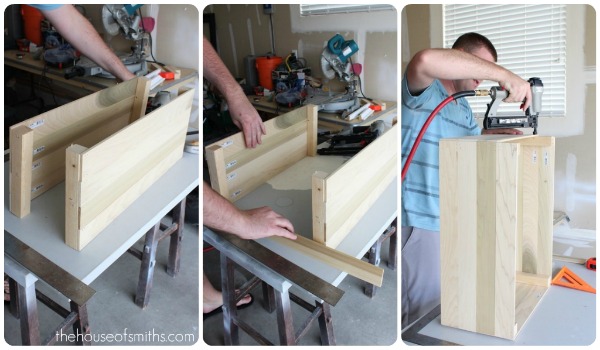
Source: House of Smiths
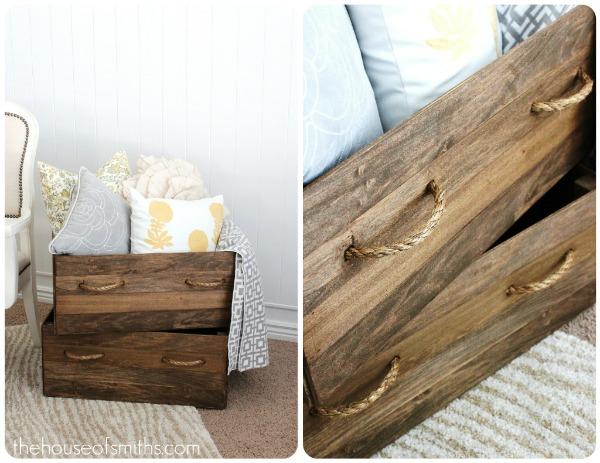
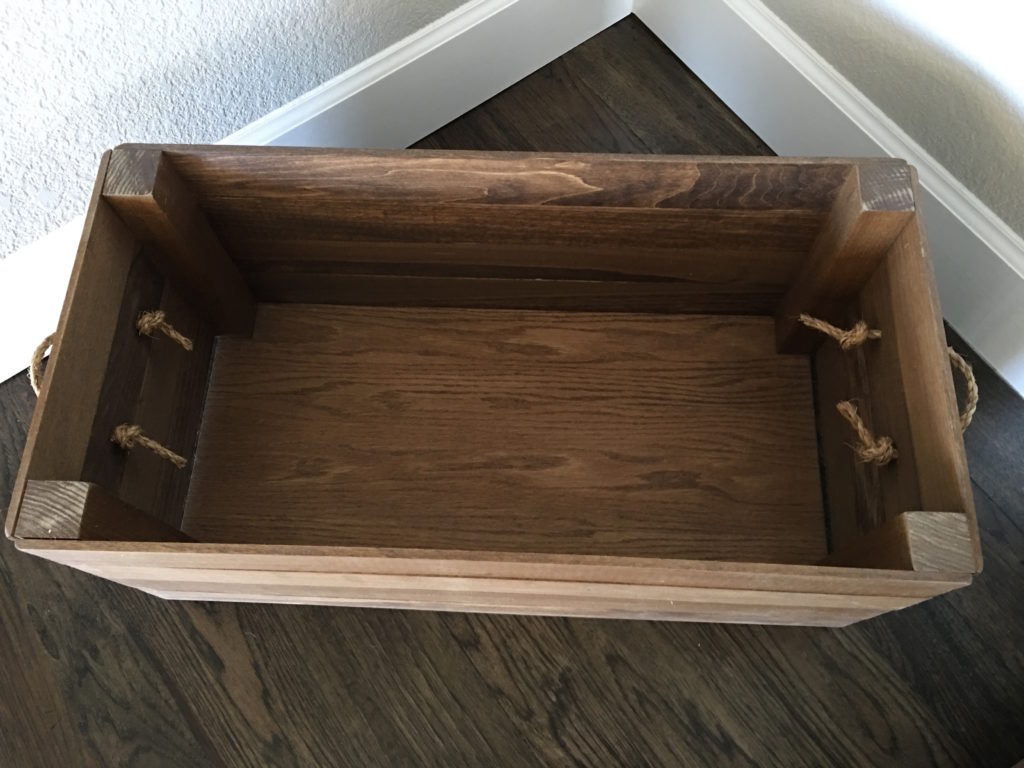
Next, we drilled a few holes in the sides of our crates for handles. We chose to put our rope handles on the sides of the boxes, instead of the front ,because we thought it would look more natural for our purposes. I then applied the stain and we headed out for an afternoon at the pool.
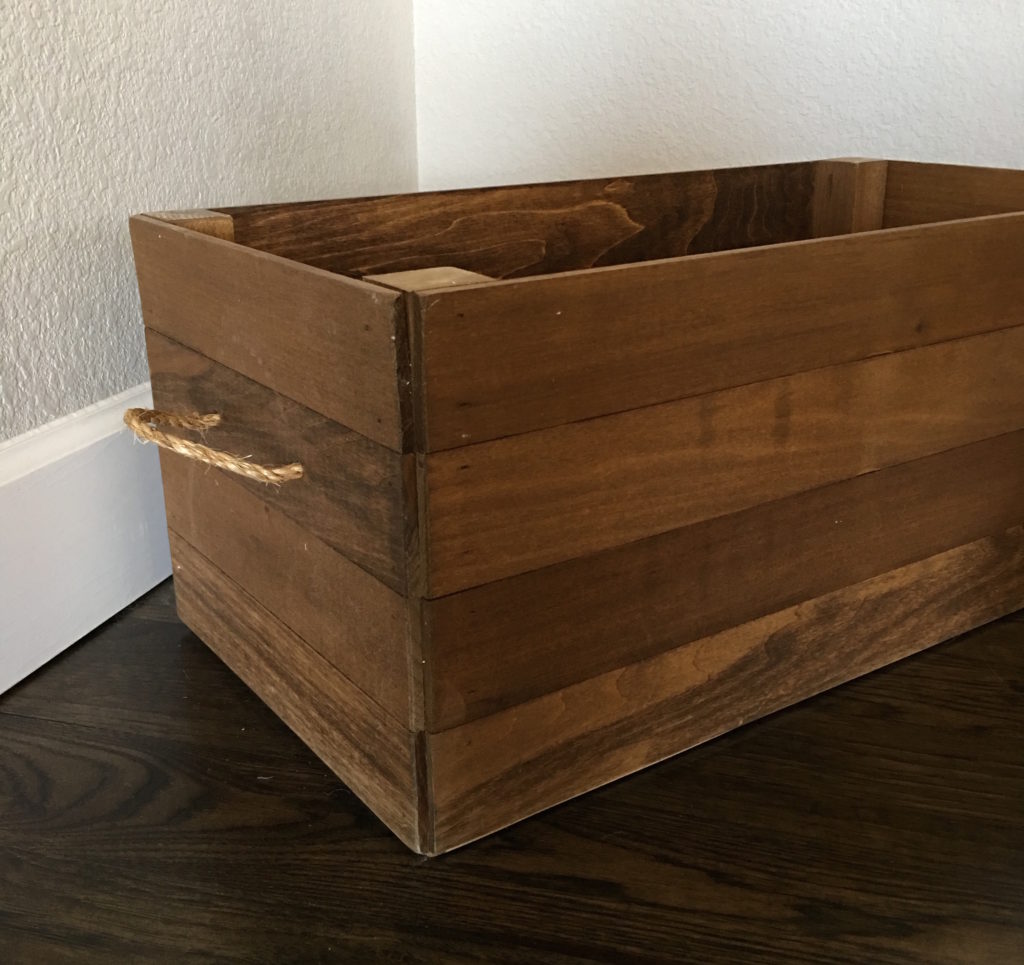
The boxes were dry when we got back, so I threaded some jute rope through the holes in the sides to finish the handles, and I moved the boxes into the dining room.
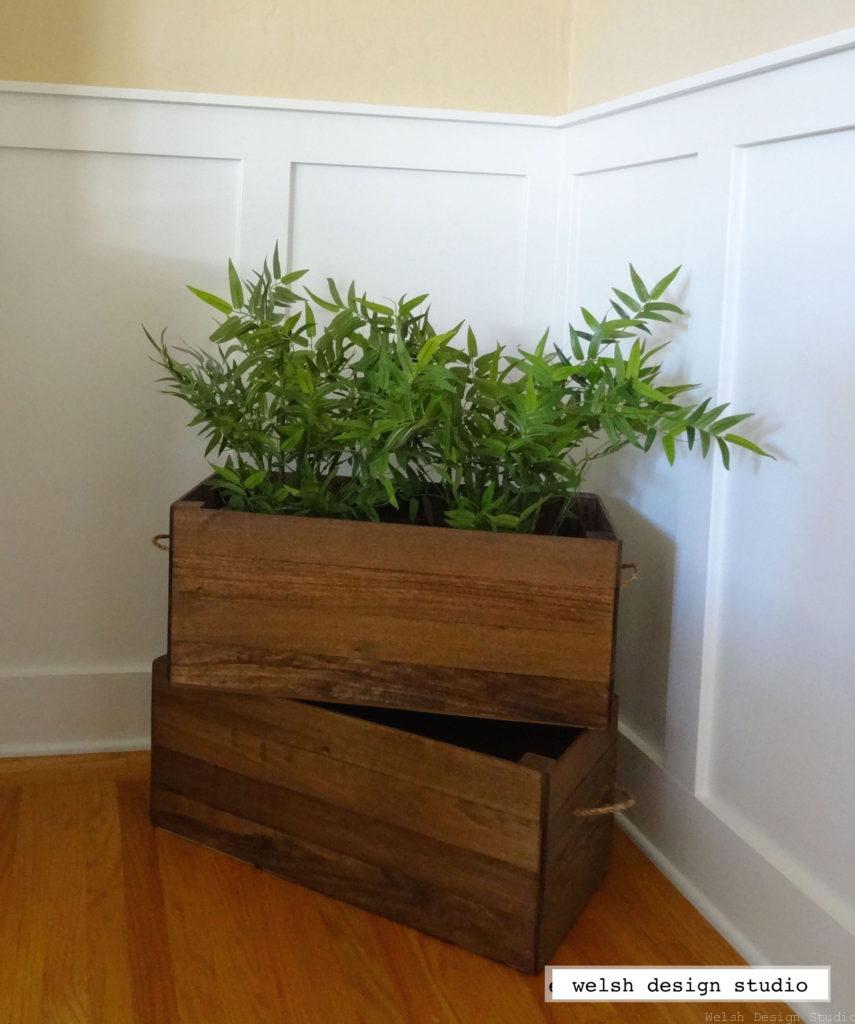
The Finished Crates
I put a couple of fake plants from Ikea that I already had into the top box, and voila…just what that empty space needed! Here is a picture of our finished crates:
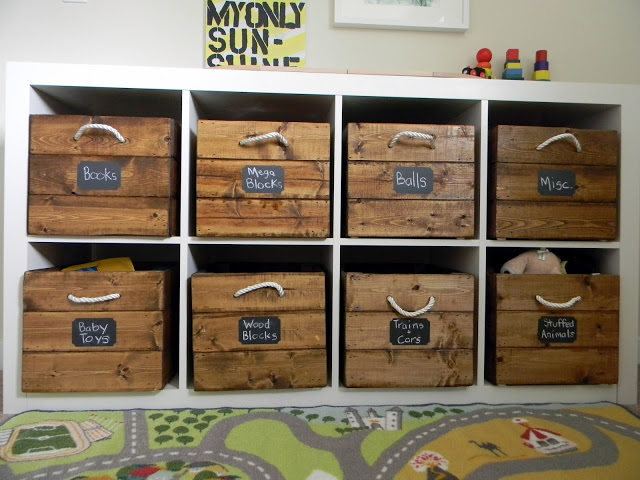
This was a super easy project! It only took us about an hour (seriously) once we had all the materials, and that includes the staining! These DIY vintage crates would make adorable boxes for toy storage. You could even add a chalkboard label, or stencil on a label, like in these next pictures.
More Crate Inspiration Pictures
Source: Dreams to Destiny Design Co.
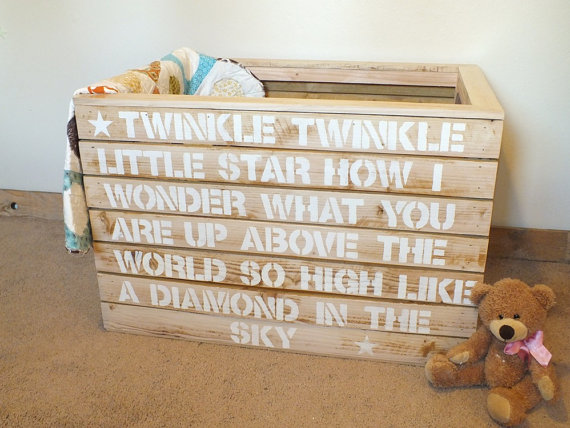
Source:A Silent Blossom (Etsy Shop)
Or put some wheels on the bottom, like in this great version from Ana White.
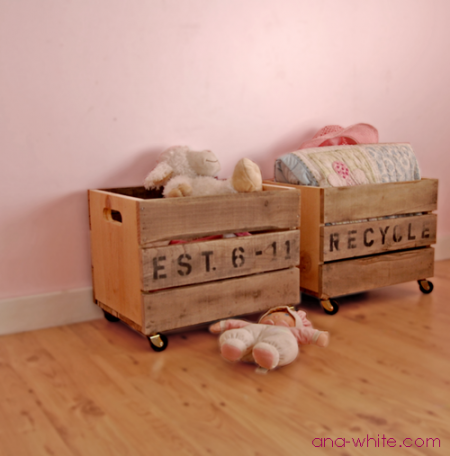
Source: Ana White
Or paint it really cute, like this one from Beneath My Heart.
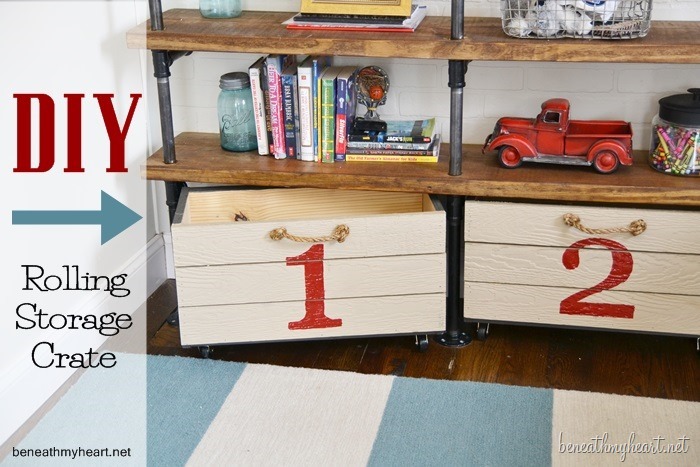
Source: Beneath My Heart
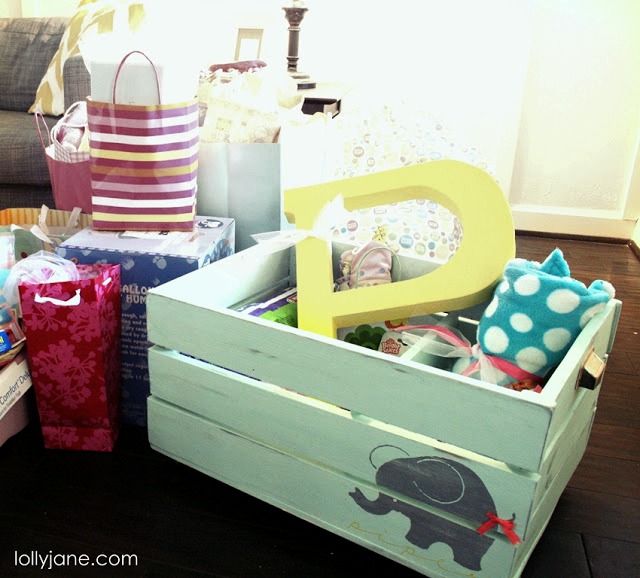
Or this one from Lolly Jane.
So many ideas, so little time… I’m telling you, using crates like these is a great way to decorate your home! And, these crates can capture some of that amazing style from Fixer Upper, which I hope is a hit because I love that show!
I love Fixer Upper, too! Such a great show. The crates look great. I may have to try making some for my kids’ playroom someday.
Love how yours turned out! Thanks for including ours too!!
(: