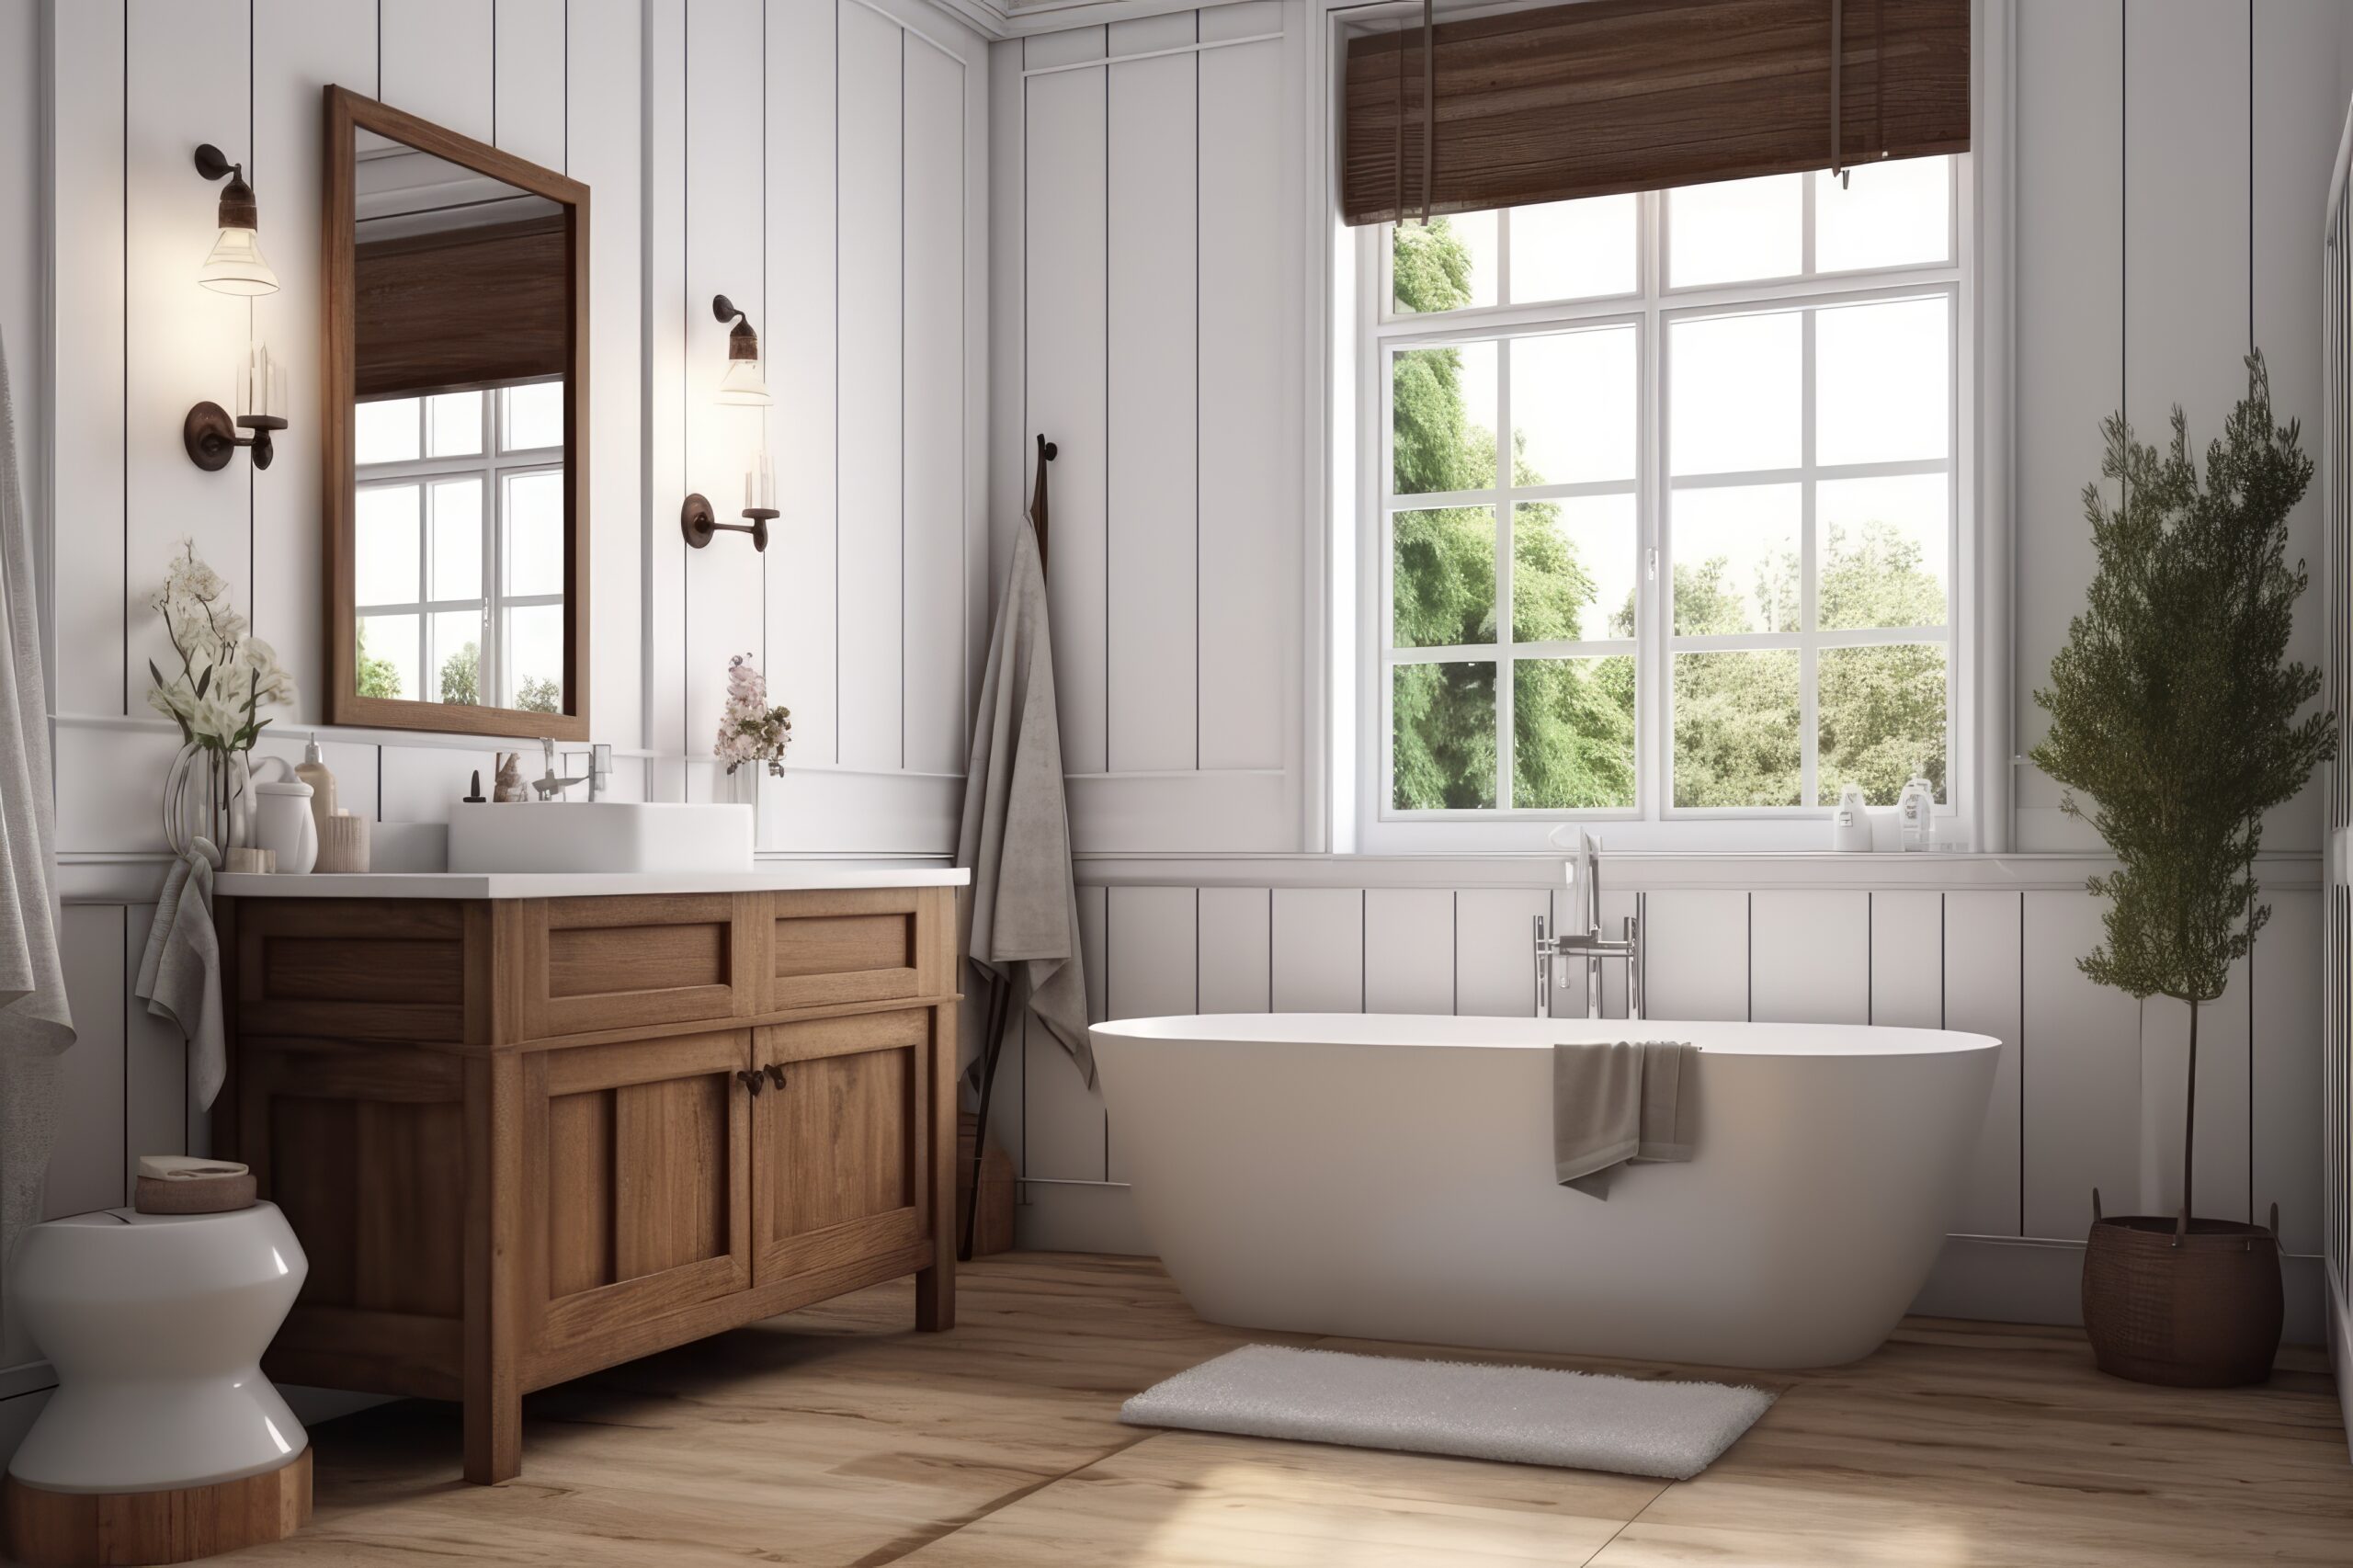
The distressed furniture look is sooooo popular right now, and is the perfect way to create a farmhouse or beach cottage look in your room. I’ve been looking, but just haven’t been able to find, a gray distressed side table for my living room. You see, we’ve been slowly re-decorating our living room over time in an attempt to create a subtle beach/cottage themed room. My inspiration has been this fantastic room by Lindy Allen of Four Chairs Furniture – love it! I figured, if I can’t find the perfect side table, why not make it? So, I painted and distressed our existing side table, and I learned a lot. Today, I’m sharing my process and some tips about how to distress furniture.
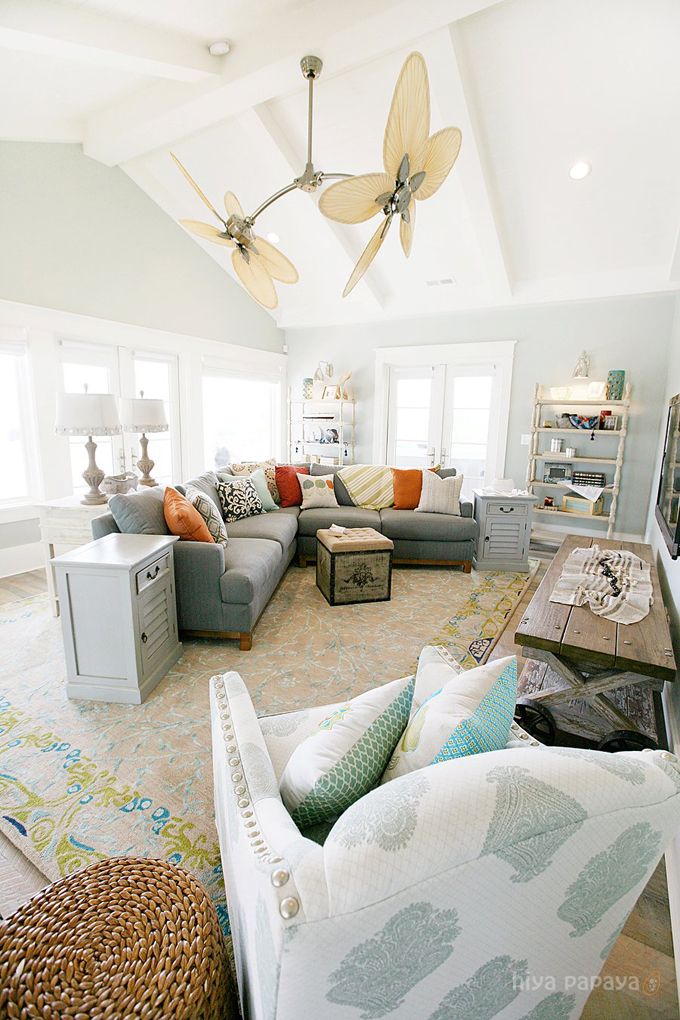
Source: Photo by Hiya Papaya, Design by Lindy Allen
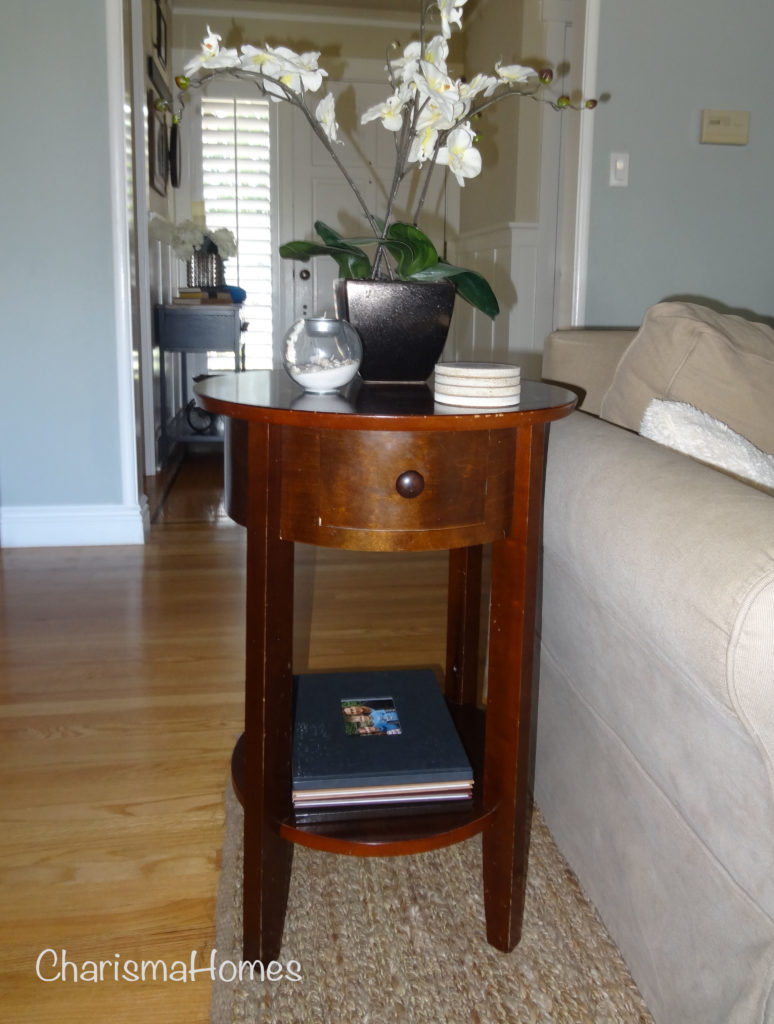
You probably have some furniture in your home that could use a little makeover, am I right? After 10+ years, our round, wood side table was looking pretty shabby, and was in need of an overhaul. I stared at it for a few days, wondering what to do with it. And then it hit me! Why not paint it? So, I decided to bust out the brushes and paint this past weekend. My hubby was a little wary about painting a “perfectly good side table,” but I had my heart set on it (and that look in my eyes), so he just shook his head while I got to work.
Here’s the side table before I painted it. See, it’s already a bit distressed…
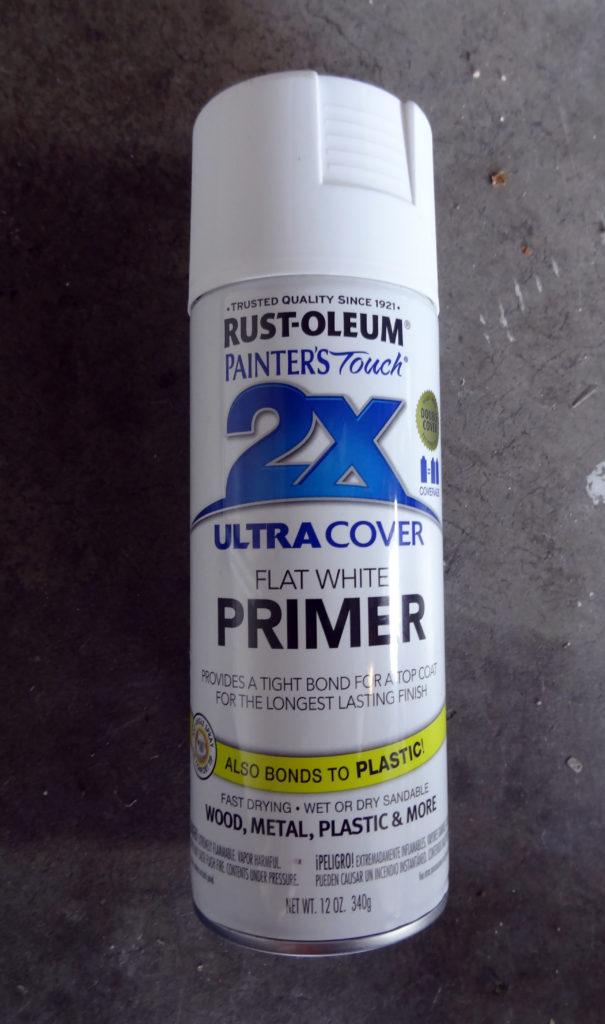
Step 1: Primer
I already had plenty of gray paint samples in my garage (see my post about searching for the perfect gray paint), and I figured one of them would work well enough for a light gray paint color. I held up my paint sample poster board and decided that Benjamin Moore’s Stonington Gray would make a great color for our side table. It’s a nice gray, with cool undertones that I thought could work well with my beach theme.
The first step to painting wood furniture is to prime it. This helps the paint adhere to the surface, and you don’t want to skip this step. You can buy primer in cans and paint it on with a brush, but I wanted to speed things up (I’m impatient that way). So, I started with a spray-paint primer I bought at Home Depot. In terms of ease of use, this stuff rocks! It adheres to anything and is super easy to apply. If you want a primer that is fast and easy, I highly recommend it. However, the coverage can be a little spotty, and grainy. So, one of my tips is to use a find sandpaper after priming to “knock downs” any grainy spots. Also, you’ll probably need to apply two coats for best coverage results.
Step 2: Paint & Distress
Next, I painted on two coats of my Stonington Gray paint. For this step, I just used my paint brush. It was a little time consuming getting into all the cracks and crevices, but it turned out great. A word about paint…I’ve read a lot about using chalk paint for painting furniture, and in hindsight, I think it would have been a better paint to use. Why? Because you don’t have to prime your furniture before using chalk paint, so it could same you an entire step, and precious time. Plus, apparently chalk paint and regular latex paint perform about the same (durability, color, etc.) So, my tip for you, would be to consider using chalk paint for your furniture painting project.
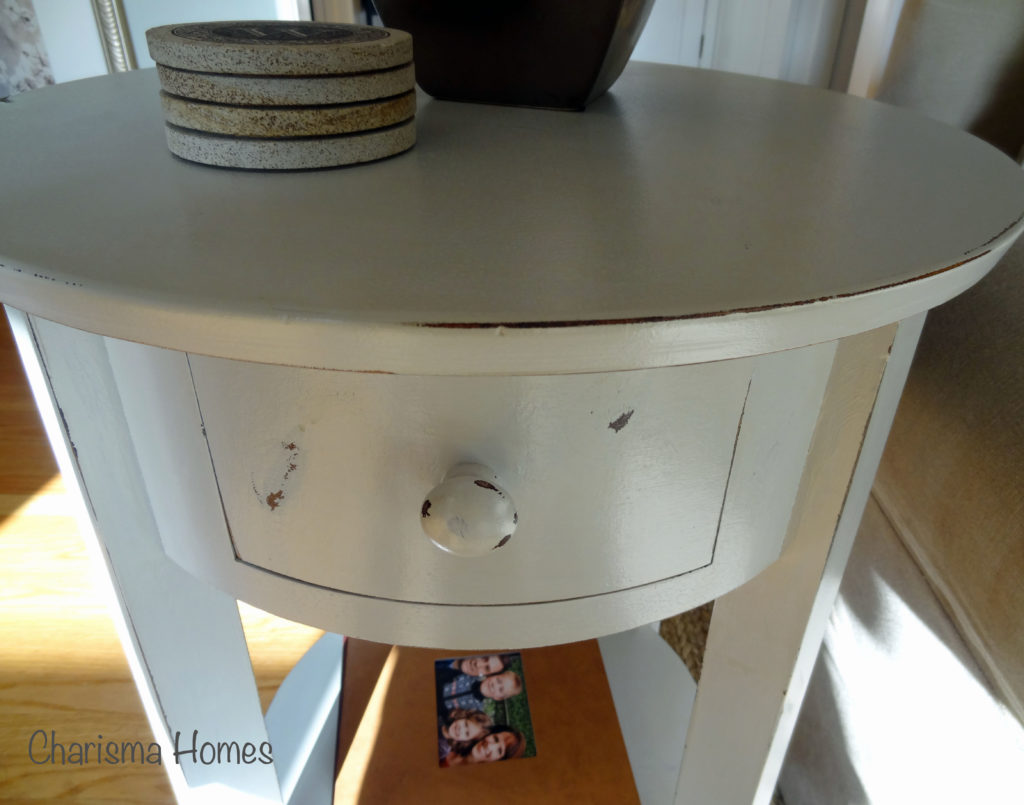
When I was all done painting I put the table back in the room for a quick view. The color looked good, but the overall look was a little too “perfect.” for the room design I was going for. I brought it back out to the garage for some distressing, which I had never tried before. No better time like the present!
I took out the sanding mouse – best tool ever! – and started roughing up the table top and leg edges to create a distressed look. You want to try to sand the areas that would naturally get wear and tear from people bumping into it, or using it. Areas like the edges, knobs, and drawer fronts are a good place to work your magic. My hubby came out while I was sanding, and with a rather “distressed” (sorry, couldn’t resist) look on his face asked me “what on earth are you doing to the table now?!?” I told him I was distressing the table, and he just shook his head and left the garage. I think he’s learned over the years to just go along with my home improvement craziness – he knows by now that I always have a plan in my head.
Sanding some of the edges took it all the way down to bare wood, which looked a little unnatural. If a piece of furniture had aged and distressed for many years, you would expect it to have worn areas that looked a little darker. My solution was to wipe on a little wood stain that I already had in the garage onto the exposed wood to create a darker look. Here’s a another tip for you…when you put the stain on, keep it confined just to the spot you want it to go on, and then immediately wipe it off with a paper towel
Step 3: Protect it
After all the sanding and staining, I finished it off my little side table with two coats of polyurethane to seal it all up. The polyurethane gives it a nice, strong protection and keeps your paint job in-tact. You can also use furniture wax, but I already had polyurethane on hand, and am more familiar with how it works. Some people really love how easy it is to apply wax, so you might want to look into it.
Step 4: Enjoy!
Finally, I had a cute little gray distressed side table for my living room! And, it turned out just the way I had imagined.
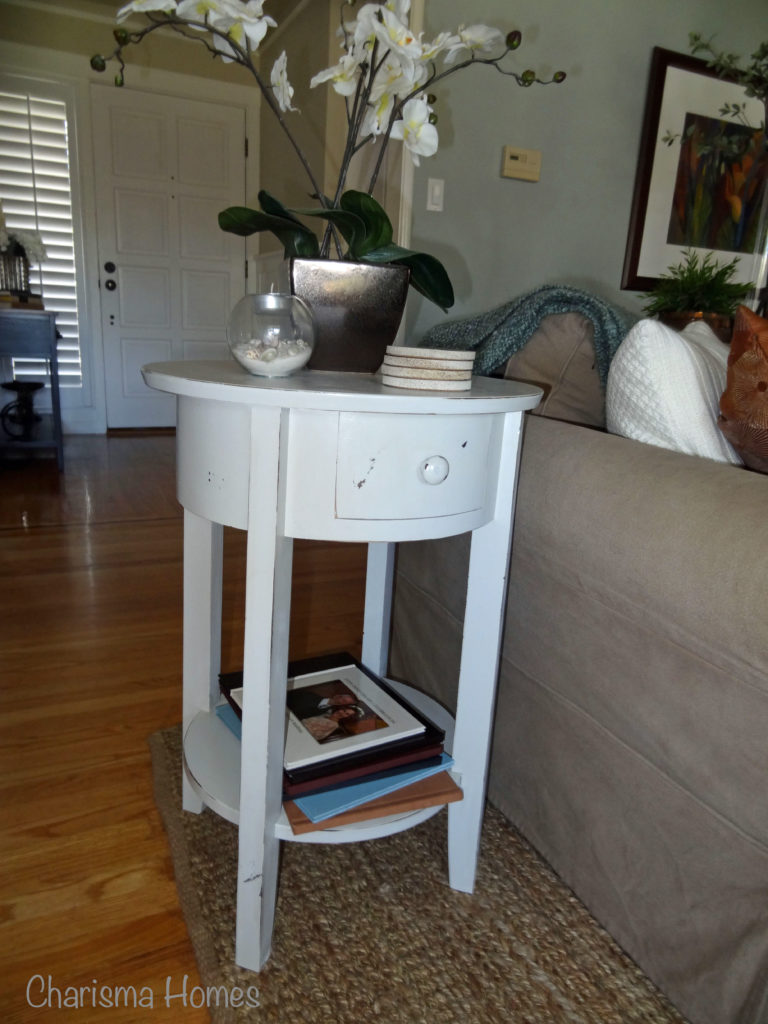
This was my first time trying to distress a piece of furniture, and I was amazed at how easy it was to create the look. I hope you can learn from my experience, and use my tips for how to distress furniture to create your own masterpiece. If you’re ready to take on a project like this, here are some of my favorite products from Amazon to help you out. Note: these are affiliate links, which means that if you click on one of them, and make a purchase, I will receive a tiny commission at no additional cost to you.
Leave A Comment